Outline ·
[ Standard ] ·
Linear+
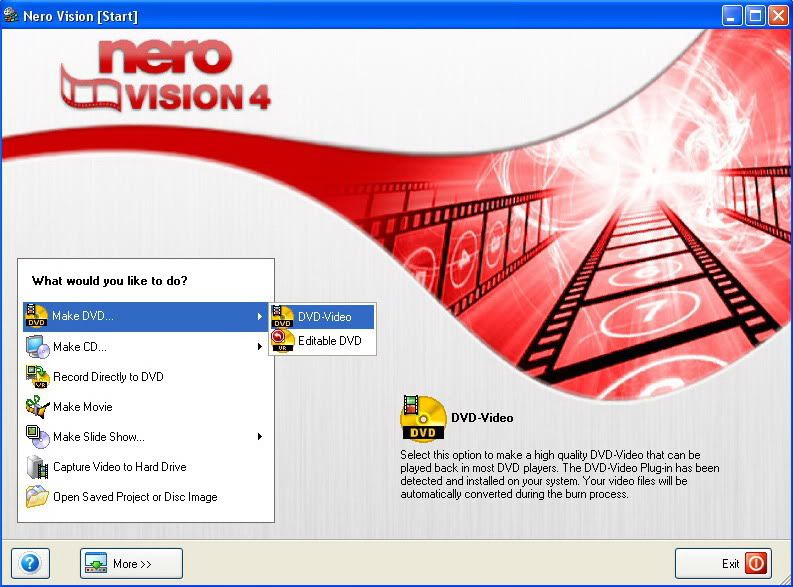
[Guide] Convert AVI (DivX/XviD) to DVD, Using gui4ffmpeg & Nero Vision 4
|
TSkeyz
|
 May 29 2006, 03:33 PM, updated 20y ago May 29 2006, 03:33 PM, updated 20y ago
|
Regular


|
Information: This guide intended for anime with hardsubbed (subtitle embedded in the video itself)Download gui4ffmpeg from here.Extract the zip file to create it's own folder. Step 1: Launch gui4ffmpeg : 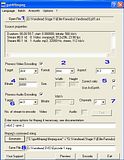 This is what I do : - Load my AVI video
- Select as NTSC
- Set the aspect ratio 4:3
- Set bitrate to 6000 kbit/s (default value)
- Click this box if changing from NTSC to PAL or vise versa
- Audio set as ac3
- Channel is 2
- Choose target location
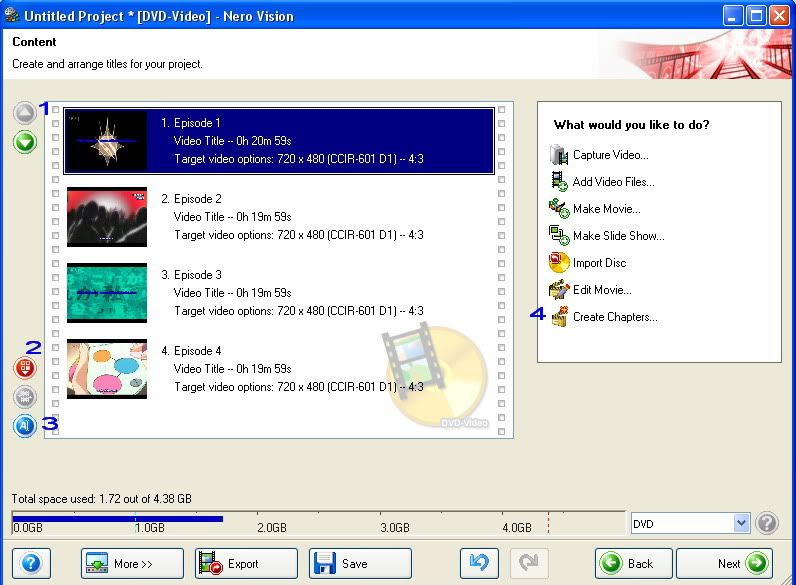
Step 2: After complete the conversion, launch Nero Vision 4 to do the mastering : 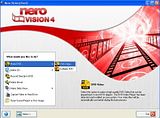 Step 3: Step 3: Add the videos which have been converted earlier: 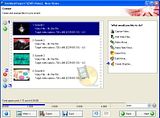 You can adjust the videos by clicking the button as below: You can adjust the videos by clicking the button as below:- Arrange the video up and down
- Delete the video from the list
- Rename the video
- Add the chapter to the selected video
This post has been edited by keyz: Jun 15 2006, 08:14 AM
|
|
|
|
|
|
TSkeyz
|
May 29 2006, 04:04 PM
|
Regular
|
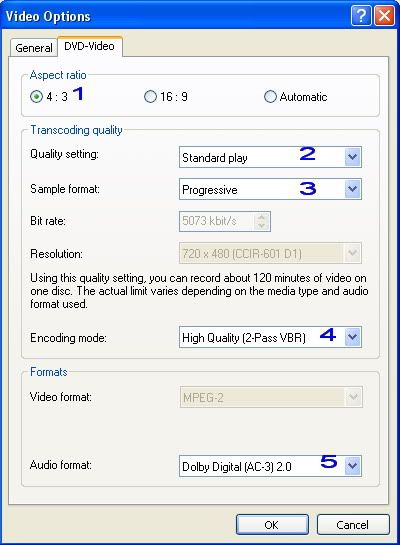
Step 4: Click More and then Video Options to adjust the setting:  Step 5: Step 5: Set the option as below (click General & DVD-Video tab to access the option): Under General option: 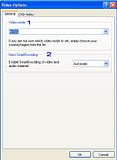 - Video Mode = NTSC
- Nero Smart Encoding = Automatic
Under DVD-Video option: 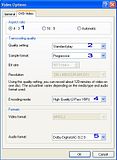 - Aspect Ratio = 4:3
- Quality Setting = Standard Play
- Sample Format = Progressive
- Encoding Mode = High Quality (2-Pass VBR)
- Audio Format = Dolby Digital 2.0 (Note: I've tested with 5.1 but audio appear only as 2.0)
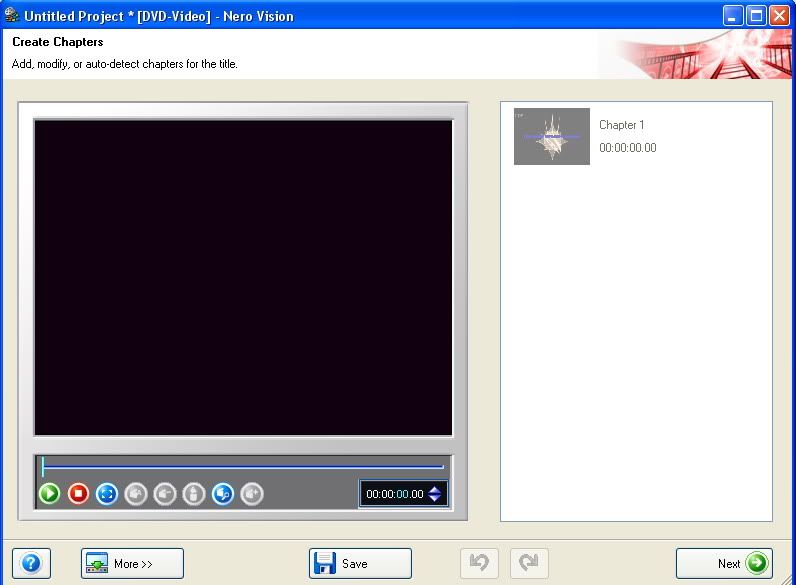
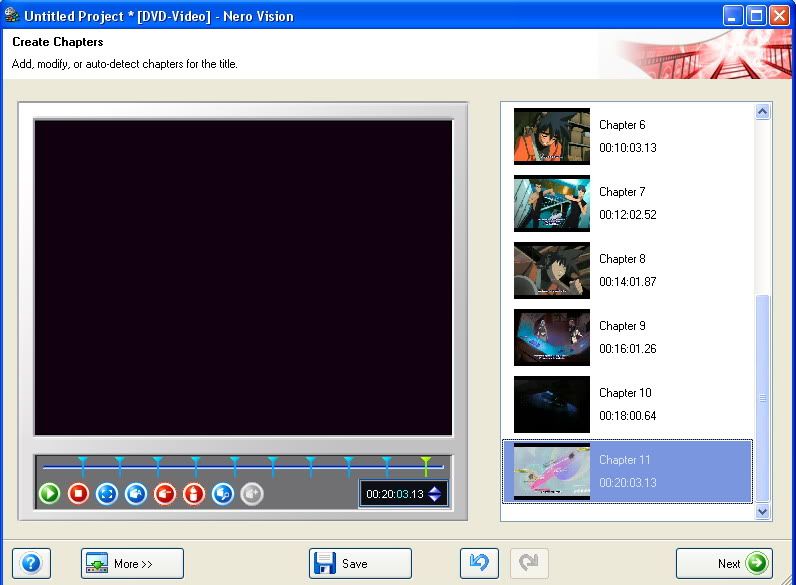
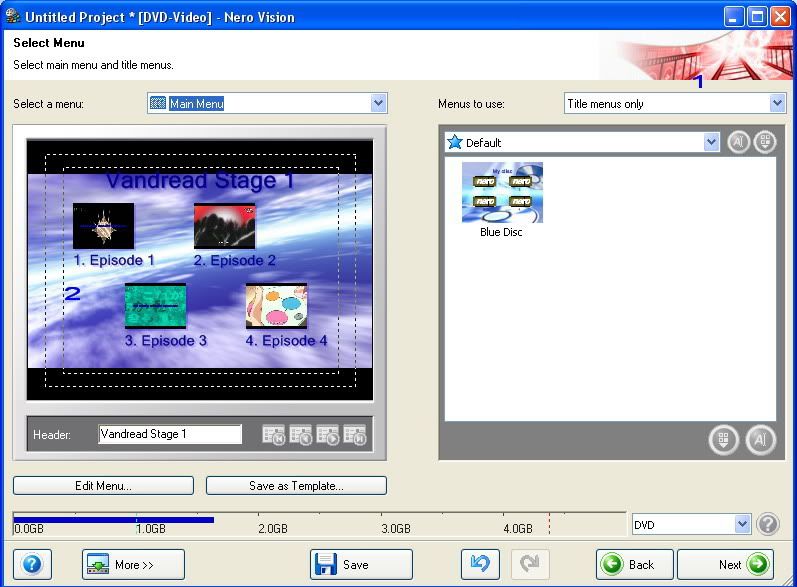
Step 6: After completed, let's create the chapter for each video.Select the first video & click Create Chapter button.You'll see screen as below : 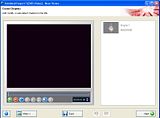 If you use Auto function to create a chapter, it will take a significant amount of time to complete. In this case I set it manually every 2 minutes by dragging the bar.After complete, you should get something like this : 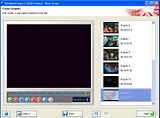 Click Next will return to the previous screen.Repeat the same step to add each video with the chapter until all completed.Click Next again when completed to create a menu. Step 7: Create a DVD Menu  - Menu to use = Title Menu Only (Note: Set this will allow you to play the movie without entering the chapter list.Pretty handy)
- Click on the menu area to edit the menu
This post has been edited by keyz: May 29 2006, 06:16 PM
|
|
|
|
|
|
TSkeyz
|
May 29 2006, 04:24 PM
|
Regular
|
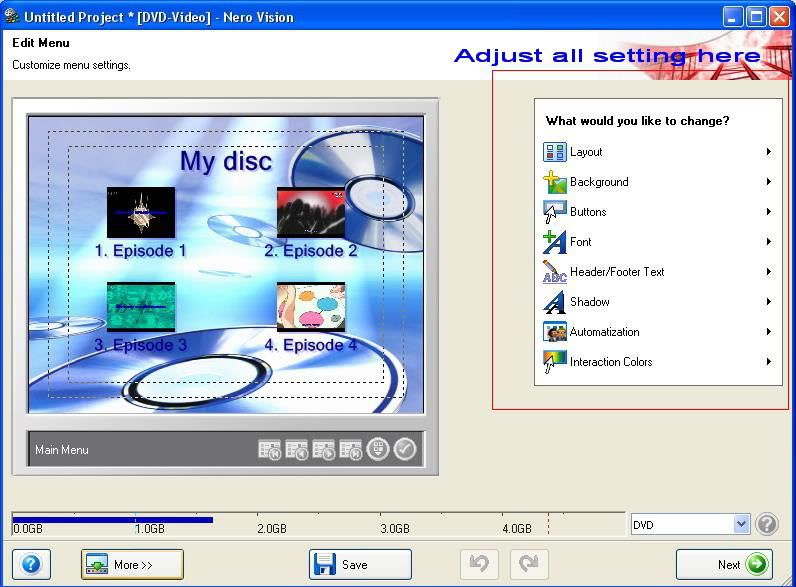
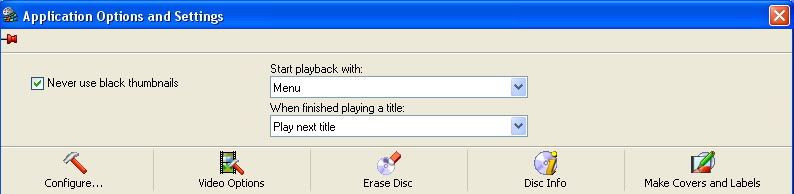
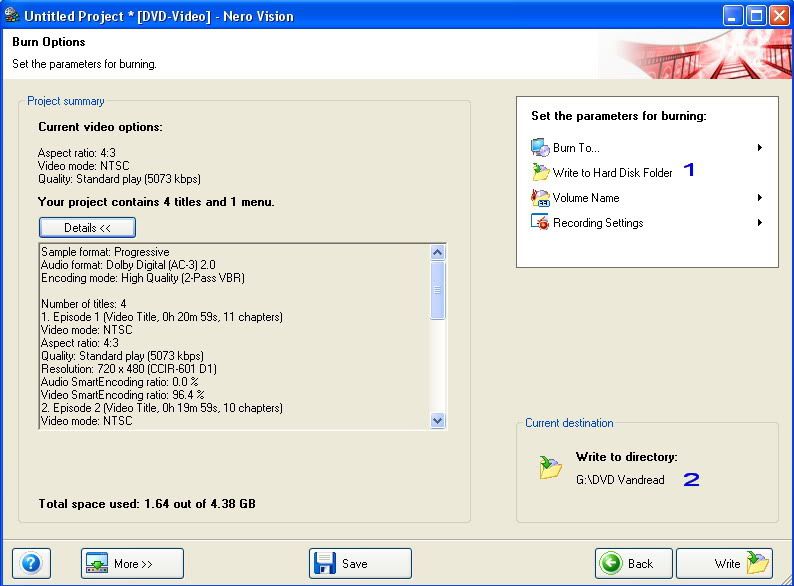
From here, you can adjust the DVD menu (layout, background , audio menu, button, animation, header & footer title etc) 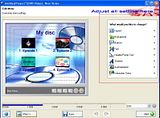 If you click More button, you can set how the menu behave : 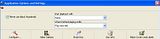 After complete, click Next : Step 8: Testing The DVD Menu 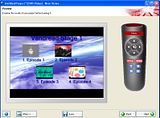 If the Menu okay, click Next.Otherwise, go Back and make the adjustment. Step 9: Setting The Burning Option 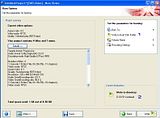 This is my setting: - Write To Hard Disk Folder
- Choose the target location
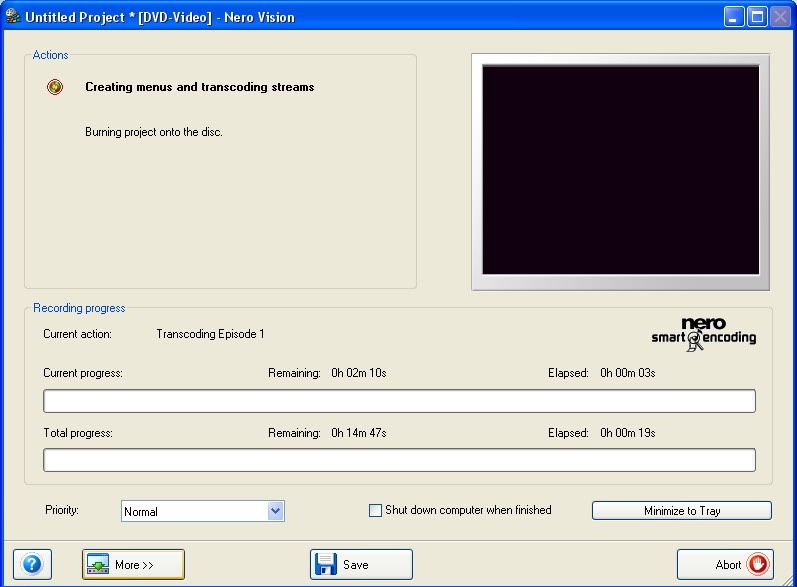
Step 10: Burn (or Write) 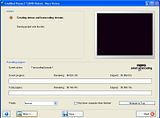 While waiting for it complete, you can make a cup of coffee or whatever you like. After completed, lauch the Nero again and create the DVD Video by adding the files which have been encoded in the target folder.Mission Accomplished !This post has been edited by keyz: May 29 2006, 06:10 PM |
|
|
|
|


 Quote
Quote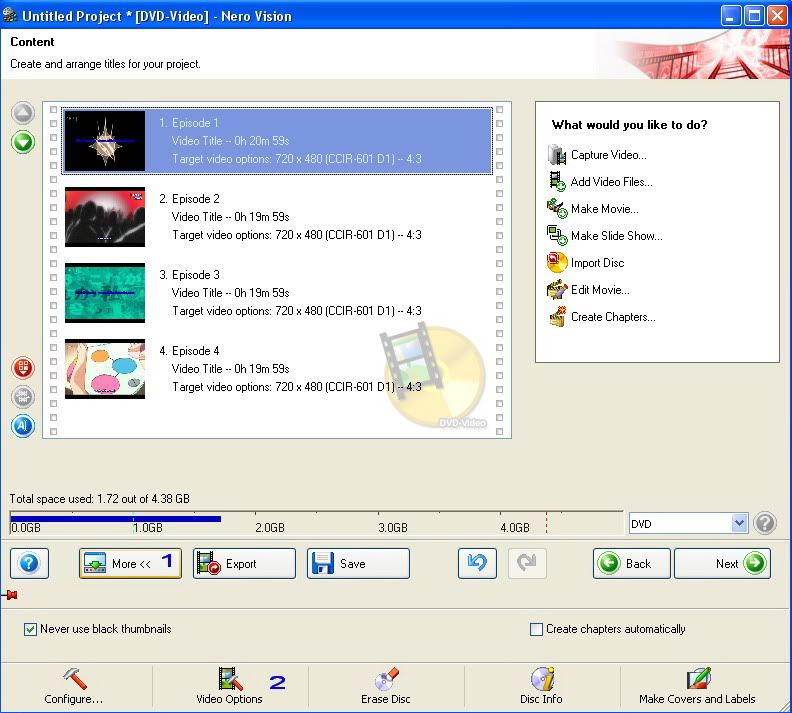


 0.0150sec
 1.13
1.13
 5 queries
 GZIP Disabled