

 May 11 2006, 08:43 PM, updated 19y ago
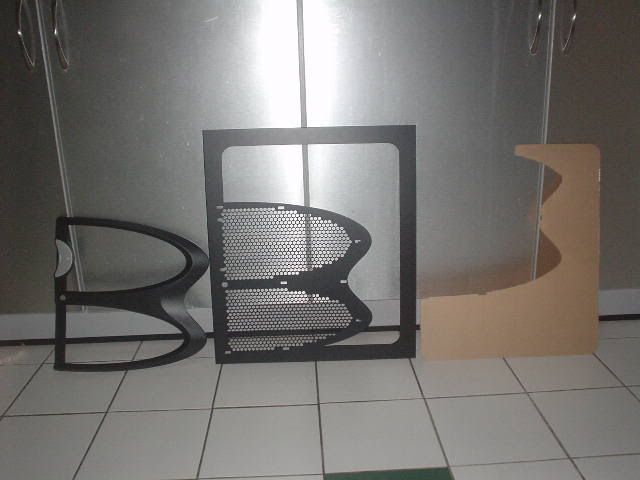
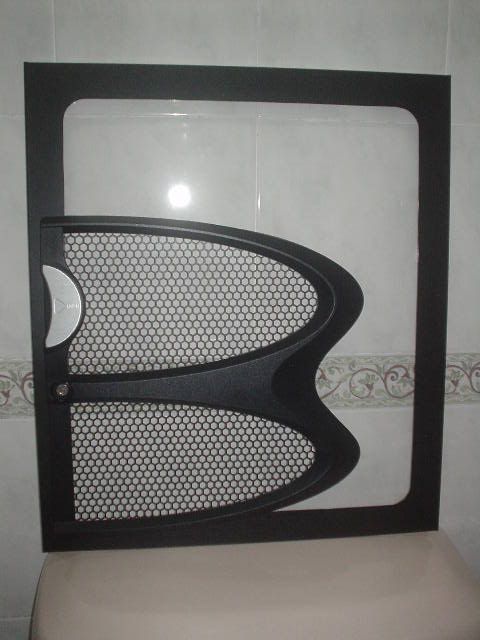
Here's what I did today. Rejoice all u TT Shark owners! U can haf a side window too. Most ppl think the Shark can't haf a window coz of that funny B shaped honeycomb grill. Well, here's a guide on how I did it. Took me about 3 hours of slow n steady meticulous work.
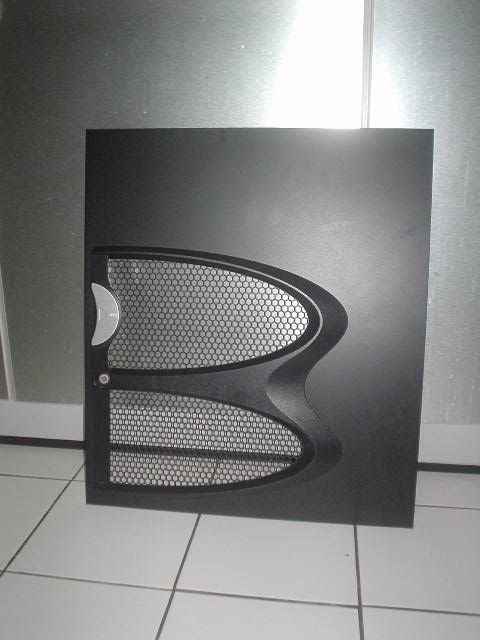
Here's how the standard Shark side panel looks like. Boring isn't it? Most fellas using such an expensive case most likely got uber 1337 hardware inside so they wanna show off the insides too.
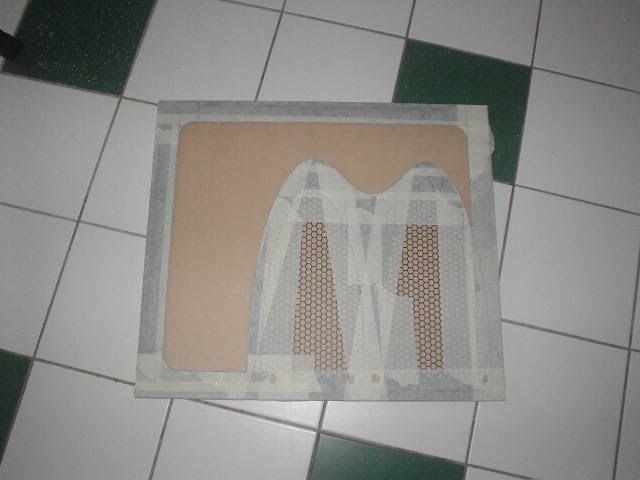
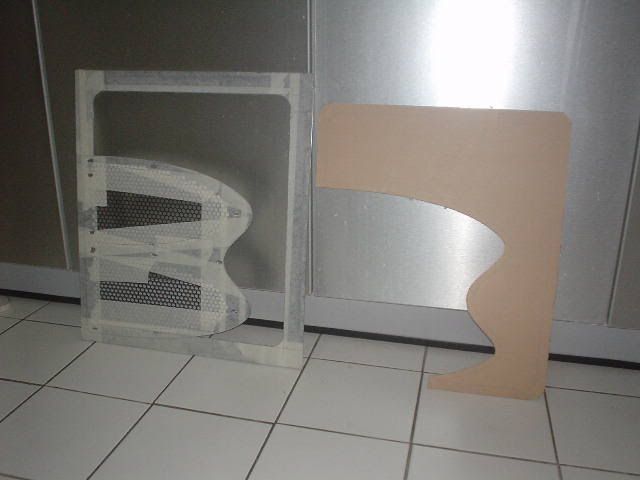
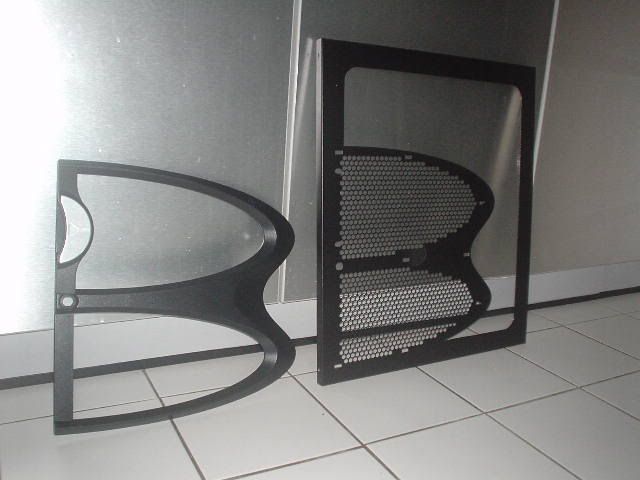
1st step is, remove the B shape plastic molding. Then mask it up with tape like this.
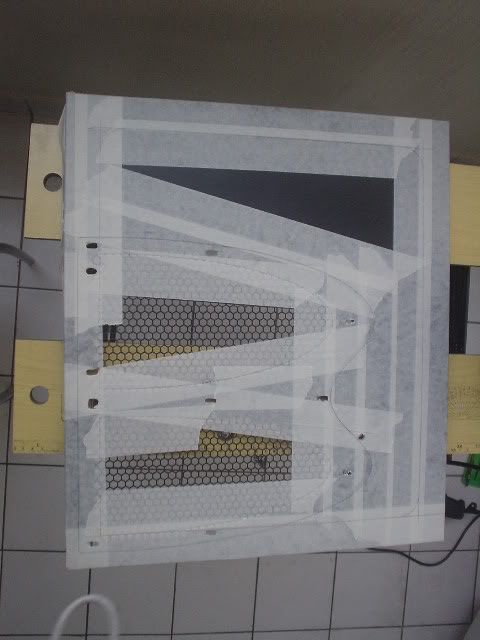
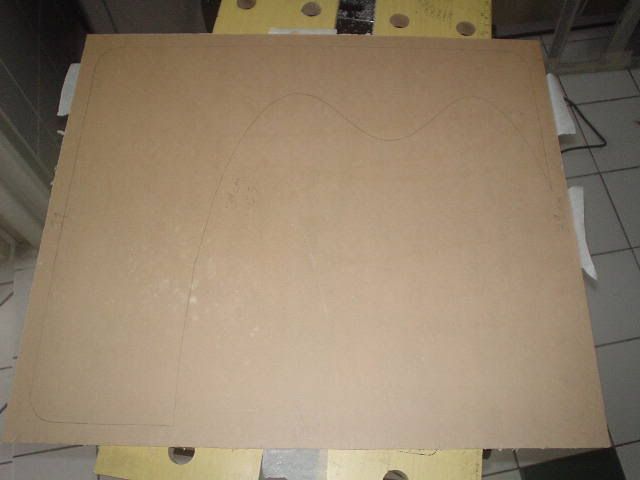
Now put the B back on to draw out the outline for the window. Also draw the lines for where u want the border of the window to be.

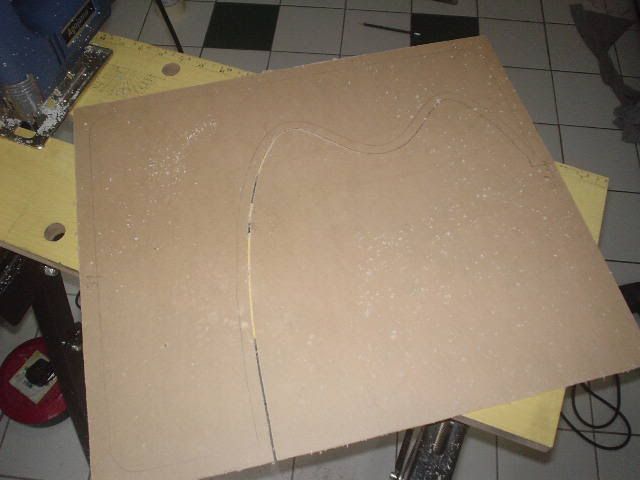
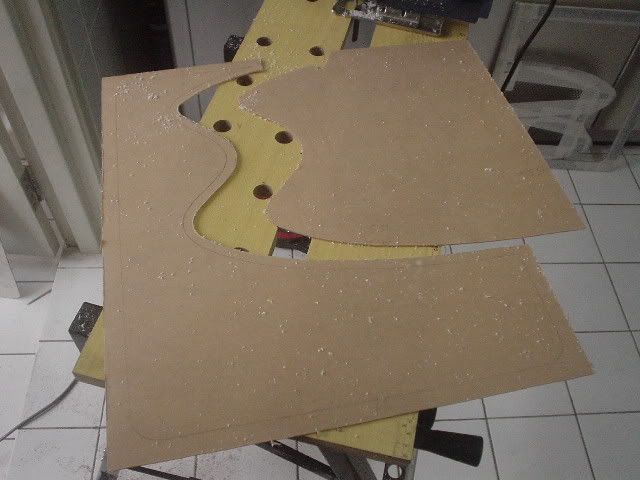
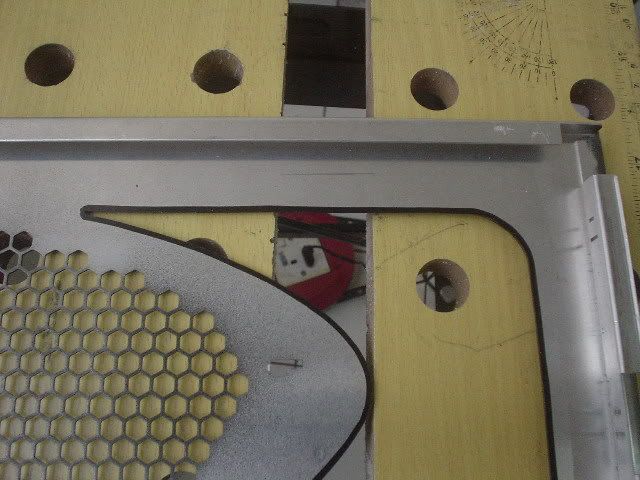
Now to the cutting. Drill a pilot hole near the edge n insert the jigsaw blade to start the cutting. This is the most difficult part of any mod. Be very, very, very, careful with the cutting n take it slow n easy since this is a very expensive case. The scary thing about this part is that TT doesn't even sell optional side panels for the Shark so if u screw up..................


This post has been edited by ianho: May 11 2006, 09:24 PM
 Quote
Quote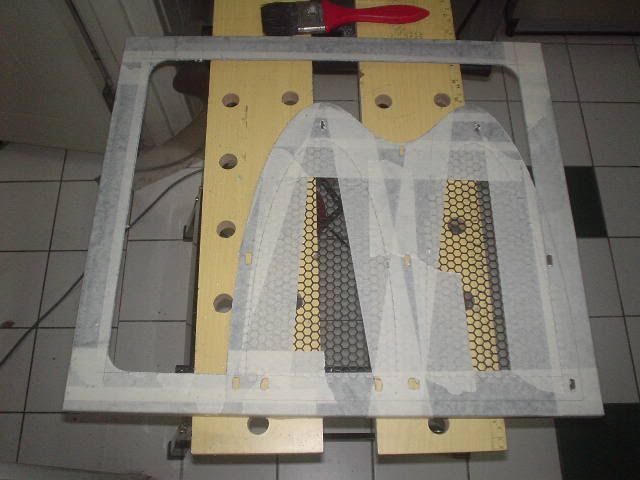


 0.0178sec
 0.59
0.59
 6 queries
 GZIP Disabled