QUOTE(cute_boboi @ Apr 29 2013, 11:39 AM)
yeah, I used to use another axle also, but the other axle not enough grip on fingers and the end push onto palm of hand, very painful if need to adjust many.
My brick separator is old type ... without the axle-point.

Waiting for the Constitution Train Chase which comes with the orange new one.
For small size stickers like 1x1 or 1x2 or 1x4 or even 2x4 (good examples are the Shell Lego cars promo) , here is what I do.
- Fold and peel out nicely. Use finger/tweezer, but don't touch a lot of the sticky part.
- Stick one end about 1mm or 0.5mm of the sticker back onto the sheet (with wax base). Or a small sheet. Not too hard, just let it stick lightly.
- The lego part to stick, join with other bricks to make it bigger to fit your hand nicely, or stable enough on table/floor.
- Then align the top portion of the sticker (furthest away from the end which is still stick onto sheet), press a bit to stick it. You can use the bigger sheet to twist/align slightly before press.
- Press one side (left/right) down. Check if the alignment is ok or not. If not ok, press the sticker sheet firmly and slowly pull out. Repeat above again.
- If satisfy ok, press the whole thing down. Then slowly tug the sheet and it will come out. Press the remaining onto the Lego brick firmly. Voila !
For big sheets, like #9398 panels which are like 4 x 10, this is what I do:
- Tear/cut out each piece as per perforated lines.
- Fold and peel out 60% , but don't take out first.
- Cut the wax-base-paper into 1/3 or 2/3 portion (one side slightly bigger than the other). Stick back as per original. In this way, your sticker is still intact, but the base is divided into two.
- Measure the sticker onto panel, see which alignment you want.
- Use the extra leftover sticker (cut into small tiny 1x10mm) to hold down the bigger portion (the wax-base-paper cut above). Normally I just use 1x on the left side.
- Press with thumb firmly on the left side.
- Fold up the right side, peel out the base, and smooth it out from left-to-right and it'll stick nicely. If not, you are in trouble already. Peel out, stick the base back, repeat the entire procedure above.
- By now, the sticker should be aligned already. Release firm left thumb.
- Lift up left side, tear the remaining base, and smooth it out from right-to-left.
- Voila ... done.
TL;DR , here's the summary:
- peel
- align
- stick
- voila!

thanks for sharing

it;'s a good one

QUOTE(cute_boboi @ Apr 29 2013, 11:56 AM)
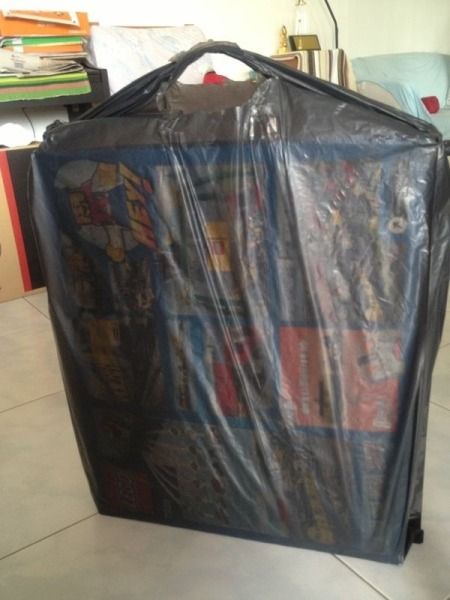
Last weekend haul a lot SG Metro is having 20% sales (2 days only) for don't know what anniversary.
Add GST 7%
Then don't know what extra 5% discount (Metro member ?)
X-ray eyes people, please view this
» Click to show Spoiler - click again to hide... «
More pics coming ...
i see minifig s10?

QUOTE(maxilife1 @ Apr 29 2013, 12:00 PM)
Roman soldier defends Selat Melaka

hehe, u can try to change it to Conquistador...
kinda represent Spanish/Portuguese background
QUOTE(Lego_Jason @ Apr 29 2013, 12:31 PM)
Yup! Unless you plan on making it a permanent display it's a good idea to have it battery powered, that way it's much easier to move the set around and for ease of storage too. Nowadays with LEDs power consumption is minimal and batteries should last quite long.
Between LED and fibre optics I would go for the later but it could be expensive. I lilke fibre optics as it means I only need one main light source and then I can run the fibre optics to wherever I want to light up. It will be a challenge to conceal the wires for LED lights and the wires will be thicker and more visible than fibre optics. Fibre optics are clear transparent, slimmer and lighter so is much easier to work with imho. It's all theory, I have yet to try it myself!
Unfortunately you may have to do some DIY if you want it to look neat and have that professional look. One of the things planned for my city is to light up all the street lights, for that I plan on drilling a tiny hole in the lamp post so I thread the wire through it. I'm already eyeing a Dremel tool set in Amazon, sadly don't see it being sold here...

lol! Their engines still new so cannot engage warp speed yet, need to slowly run in...
I'm keeping the good news for later...

Thank you! Injecting full dose of 6868 poison now...
Yeah, it's painful pushing those Technic pins but isn't it risky with the screw driver? A slip and it can leave a deep gash in your fingers... Also risk scratching the Technic pieces...
I used to use a blade too, same technique as you and it works well for me but now I'm too lazy so just use fingers. I think with practice using fingers is also not a problem... Yeah, I guess nobody like to apply stickers! Well, except for my daughter but I wouldn't dare let her do it! lol!
fiber optic? need to hunt around...
hopefully it's still cheap


 Apr 29 2013, 10:01 AM


 Quote
Quote


 i never touch one before...


 0.0541sec
 0.72
0.72
 7 queries
 GZIP Disabled