

 Mar 25 2006, 10:26 PM, updated 20y ago
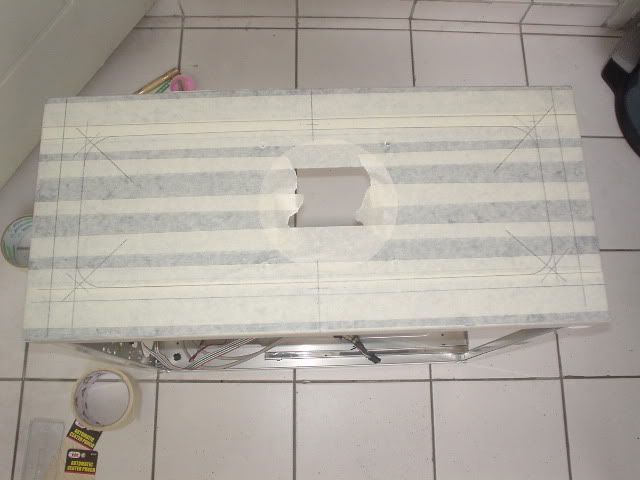
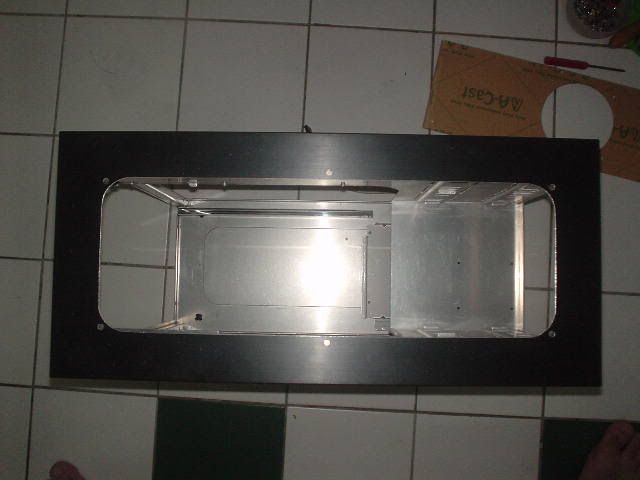
1st thing u need to do is remove everything from the case. Actually it's easier to work if u also remove the top panel. However this Lian Li case comes with the top panel riveted to the chassis. So I just left it on the bare chassis. Then whip out the masking tape n tape up the whole panel to prevent scratches while modding.

Next thing is to calculate the dimensions n mark them out using a pencil on the masking tape. Use a pencil so it's easy to erase mistakes. Make sure u check out the bottom of the case for the CD ROM cage structure n also where the PSU is. Measure n measure over n over again. This is the most important part. Any mistakes will b disastrous when u actually start cutting. Also mark out all the holes for the mounting screws n fan hole.
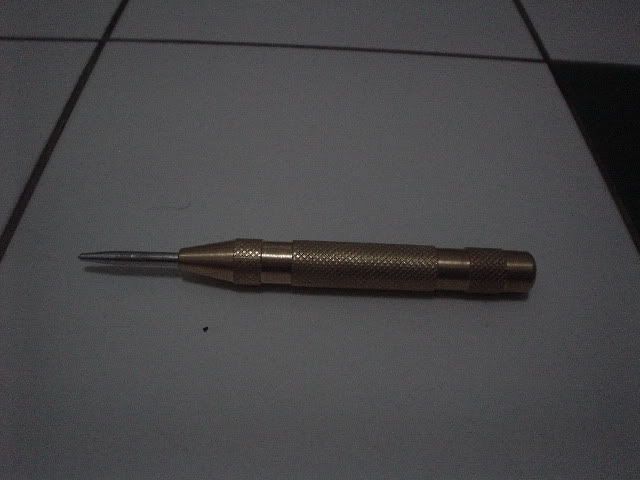
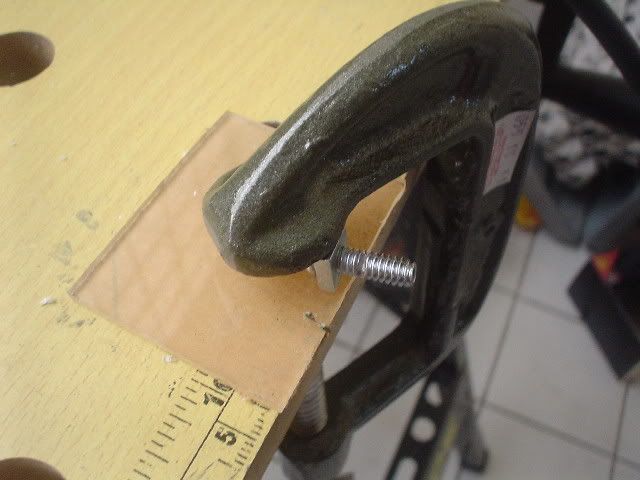
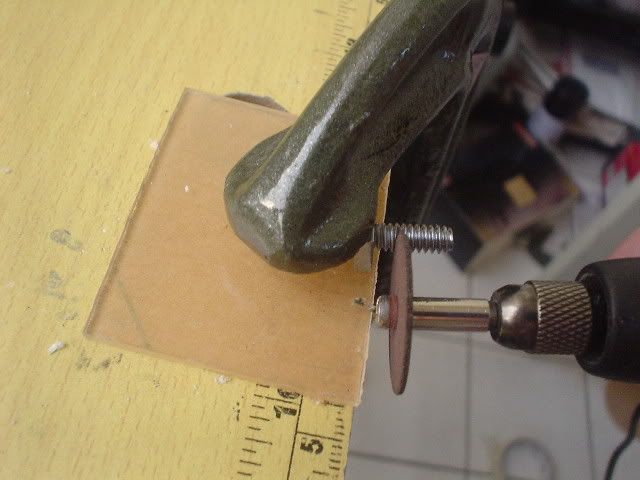
Now comes the cutting part. There's a very important tool called the center punch. Use it to punch all the holes ure going to drill. This makes sure the drill bit stays right in the middle of the marking n not stray to the right n create lotsa problems. Here's how the punch looks like.
After center punching all the markings it's time to start drilling all the holes. Drill the window mounting screw holes. Then dremel out the window from the top panel like this. Make sure to use goggles n respirator mask. Goggles to protect ure eyes n the respirator mask to prevent breathing in all the hazardous dust from the aluminum n also the cutting disc itself.
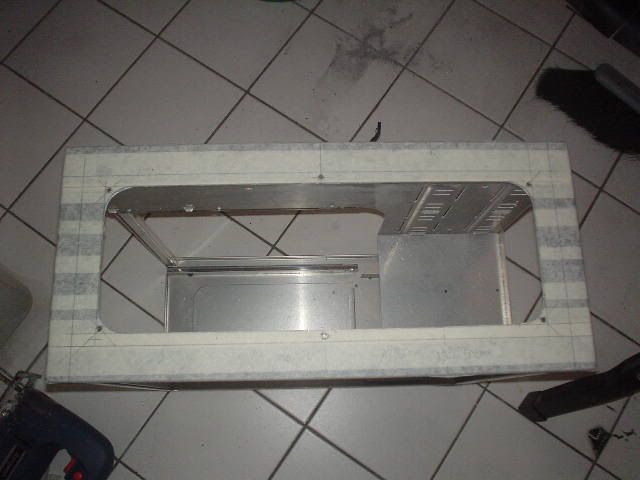
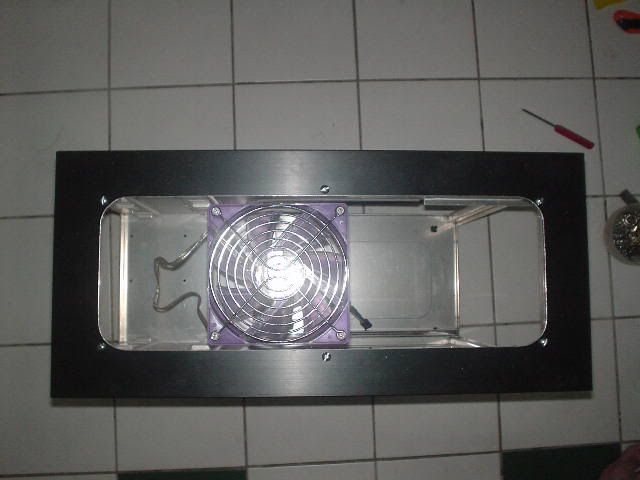
Now it's time to do lotsa filing on the edges that u cut. The time n effort needed depends on ure skill level of cutting. I cut only bout 1mm away from the markings so the filing required is very minimal. A warning though. Those of u doing this for the 1st time better leave at least 2-3mm to the markings to allow for mistakes while cutting. Then u can file away the excess all the way up to the exact dimensions that u marked earlier. Here's how it looks like after filing n drilling.
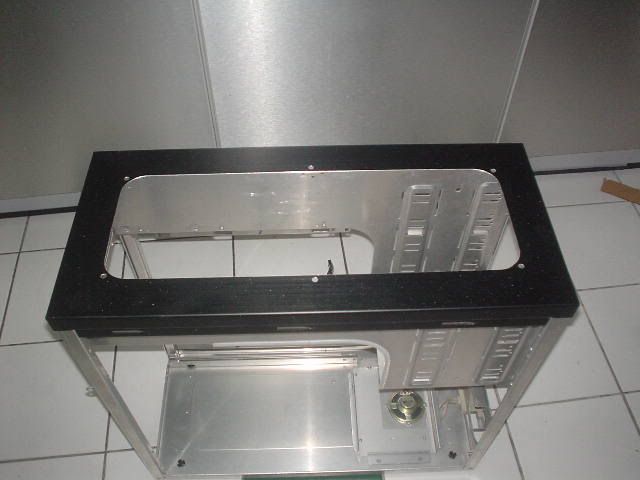
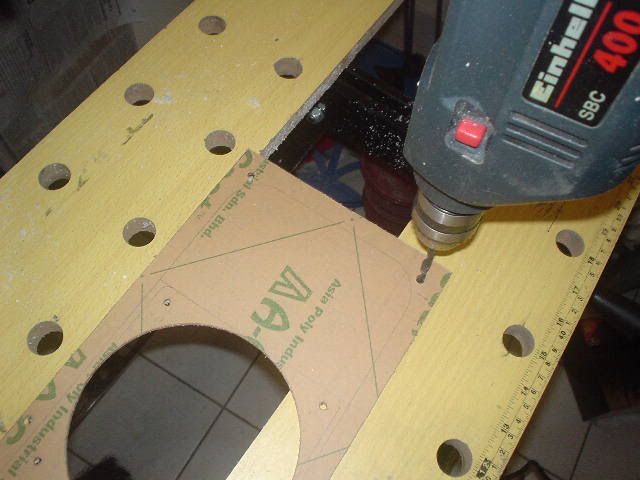
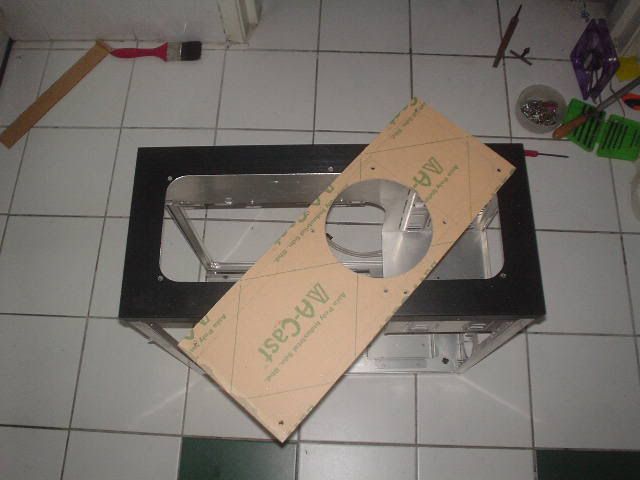
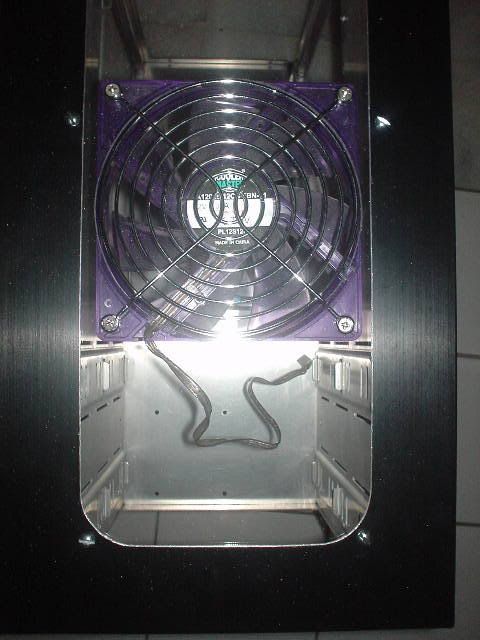
Next up is the acrylic work. Leave the protective backing paper on it n mark out all the dimensions according to ure window panel. Then cut out the exact size, drill the mounting holes n cut the blowhole like this.

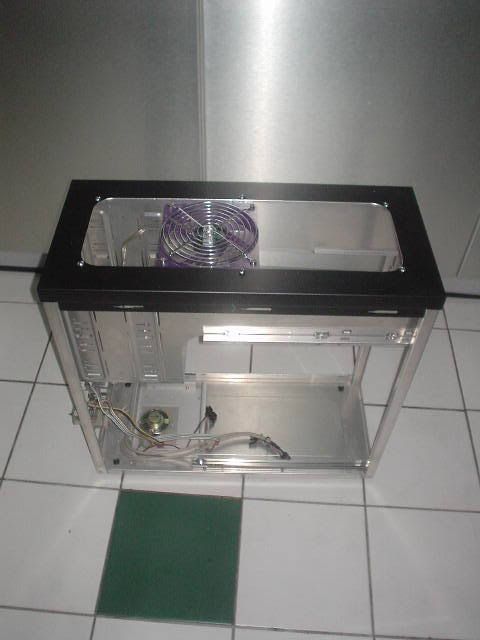
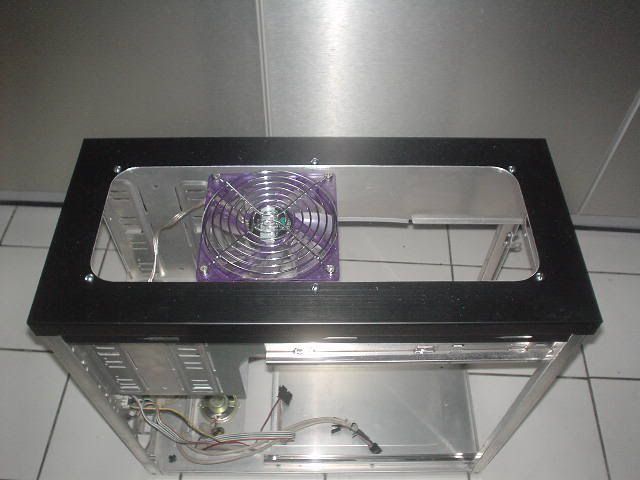
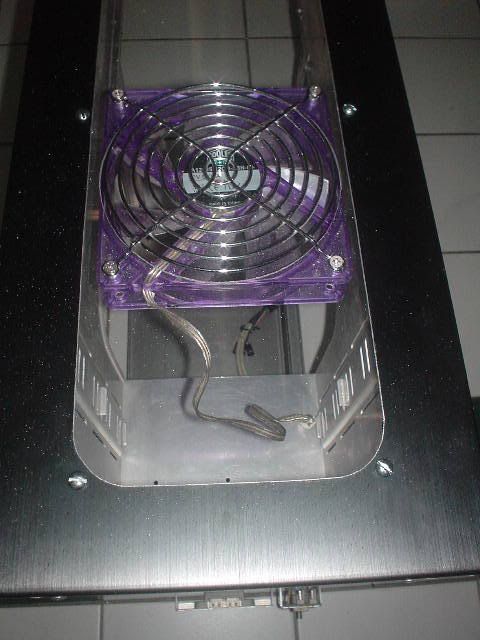
Here's the completed acrylic piece.
 Quote
Quote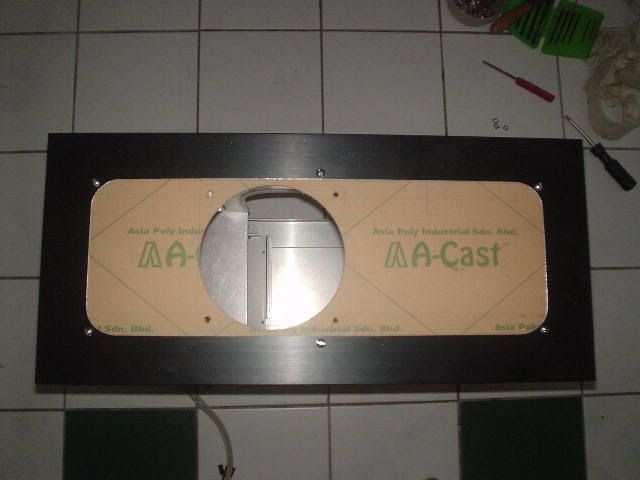

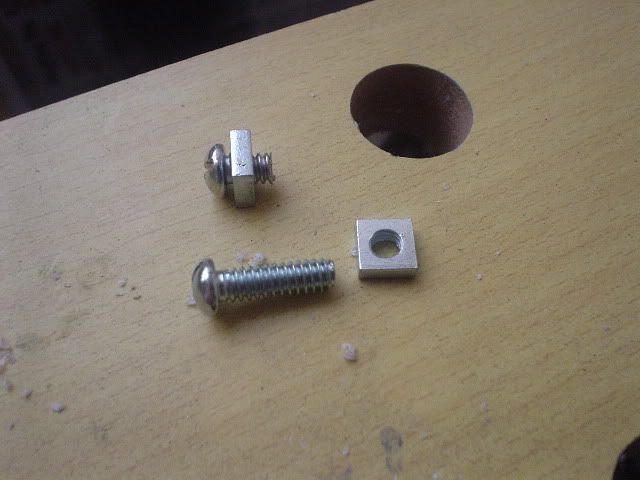


 to see you use that type of screws.....


 0.0217sec
 0.81
0.81
 5 queries
 GZIP Disabled