Welcome Guest ( Log In | Register )

Bump Topic Topic Closed RSS Feed
10 Pages « < 2 3 4 5 6 > » Bottom

Outline · [ Standard ] · Linear+

 ::: ART ATTACK V3 :::, all about handmade ART :D

views
     
DragonReine
post Jan 21 2012, 03:05 PM

just another dog on the Internet
*******
Senior Member
2,610 posts

Joined: Aug 2011
If that's the case you may have to compensate for the lack of white by using dark tones (?). Will need softer pencils for that, though, and frankly graphite is just not suitable to create dark tones.
DragonReine
post Jan 27 2012, 12:55 AM

just another dog on the Internet
*******
Senior Member
2,610 posts

Joined: Aug 2011
I quite like the idea of a sleeping, half-complete cyborg girl. It'll make quite an interesting image, if completed.
DragonReine
post Jan 28 2012, 09:18 AM

just another dog on the Internet
*******
Senior Member
2,610 posts

Joined: Aug 2011
@ Adam

It depends entirely on the resolution of the painting. If the eyes are going to be the focus, then it's fine to draw them in strand by strand

BUT, even then, the results may still look unrealistic, especially if you are not careful with the placement and direction of each eyelash.

And simply by making the edge of the upper eyelid a thick, dark line, you can already give the illusion of thicker lashes.

An example, from here: http://www.pocketmole.com/tutorials/eye/

user posted image

You can see that even without drawing in all the lashes strand by strand, the eye looks pretty good, and at a distance (aka if the portrait is a bust/waist-up or full body work), the lack of exact rendering doesn't matter.

Which is a long winded way of saying that, in the end, sometimes it's better to keep things simple, and to hint at details rather than fuss over them. Sometimes, time and practical constraints prevent you from painting every pore, or drawing every single strand of hair, or every leaf in a tree. The image as a WHOLE needs to work, and if it doesn't, working on the nitty gritty details will never make it any better.
DragonReine
post Jan 28 2012, 08:23 PM

just another dog on the Internet
*******
Senior Member
2,610 posts

Joined: Aug 2011
@ H4X

Oh, that's VERY nice. I see you've improved since the last I saw you.
DragonReine
post Jan 29 2012, 03:25 PM

just another dog on the Internet
*******
Senior Member
2,610 posts

Joined: Aug 2011
Amusing myself with drawing nonsense...

user posted image
DragonReine
post Jan 29 2012, 10:49 PM

just another dog on the Internet
*******
Senior Member
2,610 posts

Joined: Aug 2011
Actual work this time biggrin.gif still a work-in-progress

user posted image
DragonReine
post Jan 30 2012, 06:40 AM

just another dog on the Internet
*******
Senior Member
2,610 posts

Joined: Aug 2011
@ Inachi

Reference. Her face really does look like that, lol. I'm not painting this to create a beauty portrait tongue.gif
DragonReine
post Jan 30 2012, 10:55 PM

just another dog on the Internet
*******
Senior Member
2,610 posts

Joined: Aug 2011
Work work work work work work work...

user posted image

Should have asked model to smile earlier. She looks great when smiling.

This post has been edited by DragonReine: Jan 30 2012, 10:58 PM
DragonReine
post Jan 31 2012, 06:57 AM

just another dog on the Internet
*******
Senior Member
2,610 posts

Joined: Aug 2011
Custom speckled brush in photoshop.
DragonReine
post Feb 1 2012, 09:09 PM

just another dog on the Internet
*******
Senior Member
2,610 posts

Joined: Aug 2011
@ mclelun

I agree with agito. It's nice, but too fast. They move like they'd eaten several Brazillian plantations' worth of coffee. Donkeys and all. LOL
DragonReine
post Feb 5 2012, 01:17 AM

just another dog on the Internet
*******
Senior Member
2,610 posts

Joined: Aug 2011
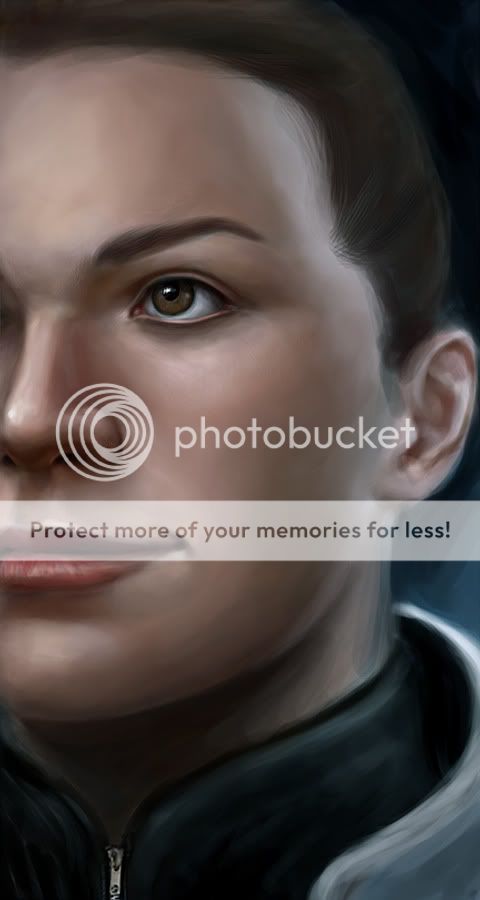
Character #1 complete:

user posted image

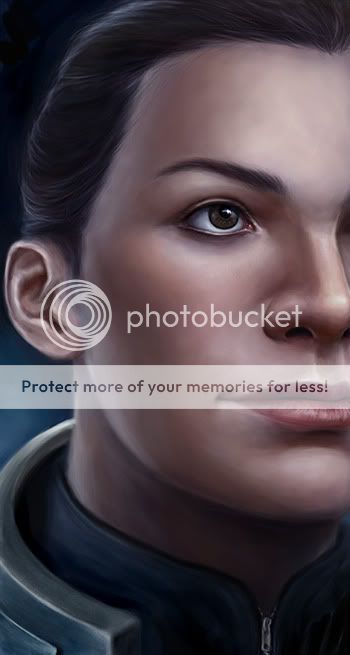
Working on Character #2 now:

user posted image
DragonReine
post Feb 5 2012, 10:30 PM

just another dog on the Internet
*******
Senior Member
2,610 posts

Joined: Aug 2011
@ Sai

It IS Commander Shepard, actually biggrin.gif Or one player's version of her, anyway (this is for an art trade. I make her a set of paintings, she makes me a pair of earrings)

Also, update on the second:

user posted image

This post has been edited by DragonReine: Feb 5 2012, 10:37 PM
DragonReine
post Feb 5 2012, 10:42 PM

just another dog on the Internet
*******
Senior Member
2,610 posts

Joined: Aug 2011
Thank you! <3

Uh, around 6-7 hours so far for the second painting? Haven't done the hair and the leather choker yet, and that's going to be a b***h to paint, so there will be another >5 hours for that.

Thankfully I have the next two days off, so I can finish this series by Tuesday, and I can get my earrings (image below) mailed over, yay!

user posted image
DragonReine
post Feb 6 2012, 07:18 AM

just another dog on the Internet
*******
Senior Member
2,610 posts

Joined: Aug 2011
@ Adam

My way of getting clean lineart/sketches. Which may or may not be the most optimal way of doing things, but it works for me:

Firstly, you'd need to get a much better image of that scan than what you've taken. Right now it's rather obvious that the area on the left side of the image is somewhat darker than the right, and you can see the table at the top of the image, and there's an obvious colour cast (I'm guessing you photographed this under incandescent light), which may cause noise issues.

You'll need to get it as evenly illuminated as possible, otherwise you'll get an image that has patches of gray which will be hard to remove unless you're willing to spend time hand-painting it away.

Ideally, you should get this scanned using a scanner. Otherwise, you need to get a really clean photograph with no shadows. Suggest reading these to get the optimal image: http://emptyeasel.com/2007/01/19/how-to-ph...r-the-internet/ and http://emptyeasel.com/2009/09/17/camera-ti...rk-for-the-web/

Once you get your clean photo/scan, it's ready for processing in Photoshop. This is what I'd do in Photoshop CS5:

(Steps 1 and 2 are actually optional, but I use them if the image has a colour cast, so I can get a clean grayscale sketch)

1) Layers -> New Adjustment Layer -> Channel Mixer.

2) Select option of channel mixing that produces the cleanest image, i.e. the least noise. There are various preset "B&W with X filter" options, you'd have to test for yourself to see which preset produces the cleanest grayscale image.

3) Layers -> New Adjustment Layer -> Levels

4) Push the white slider towards the left to get pure whites. You will probably have push the gray and/or black slider towards the right to compensate for "blowout" or loss of colour.

A more obvious tutorial (with helpful images) can be found here: http://www.jmort.com/tutorials/scanning.html#levels

This post has been edited by DragonReine: Feb 6 2012, 07:19 AM
DragonReine
post Feb 6 2012, 08:34 PM

just another dog on the Internet
*******
Senior Member
2,610 posts

Joined: Aug 2011
Ah, you merged it with your previous avatar, didn't you? Clever. Although the purples don't quite match, LOL
DragonReine
post Feb 6 2012, 11:03 PM

just another dog on the Internet
*******
Senior Member
2,610 posts

Joined: Aug 2011
Looks fine, as long as one doesn't look too closely. I'm just the kepoh type that likes to inspect every pixel of people's avaters tongue.gif

(joking, but I tend to notice colour shifts, it's hard to ignore)
DragonReine
post Feb 7 2012, 07:39 PM

just another dog on the Internet
*******
Senior Member
2,610 posts

Joined: Aug 2011
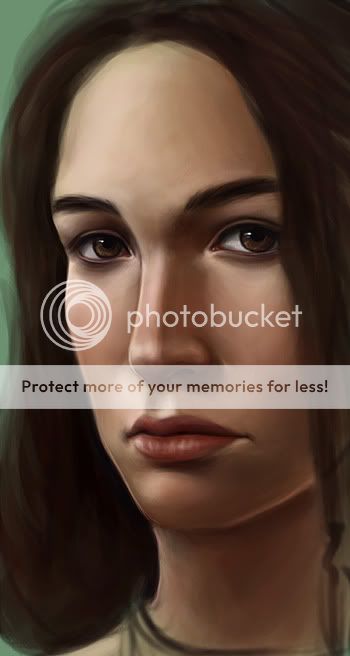
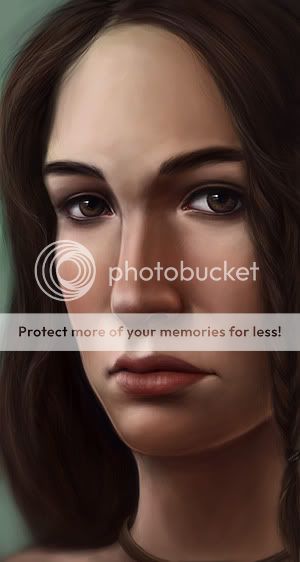
Portrait #2 complete:

user posted image

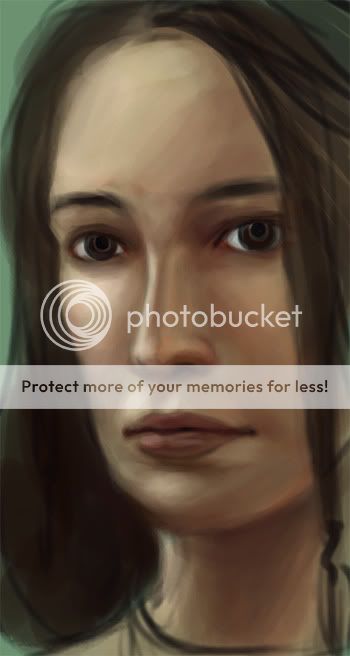
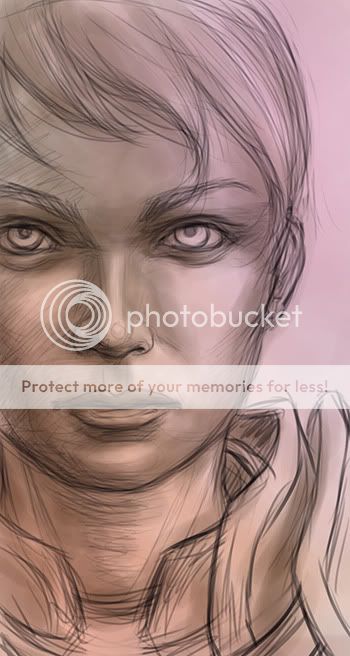
Now working on portrait #3

user posted image
DragonReine
post Feb 9 2012, 10:03 PM

just another dog on the Internet
*******
Senior Member
2,610 posts

Joined: Aug 2011
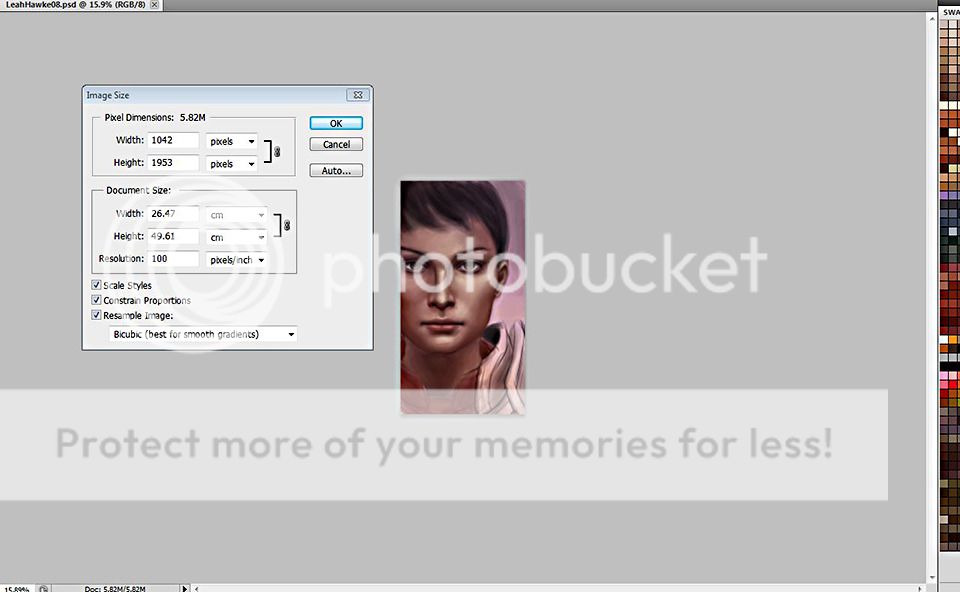
A snap of what Reine does while painting:

user posted image

A friend of mine asked how do I lay down colours without losing the underlying sketch, and this was my visual response tongue.gif Zoom REALLY far out and keep the image size small-ish.


This post has been edited by DragonReine: Feb 9 2012, 10:05 PM
DragonReine
post Feb 10 2012, 07:07 PM

just another dog on the Internet
*******
Senior Member
2,610 posts

Joined: Aug 2011
QUOTE(Sai91 @ Feb 10 2012, 05:12 PM)
custom brush eh?
such as? cuz all i have is default brush there.. hmm.gif  sweat.gif
*
Here's several sets of custom brushes for Photoshop, with PDF files on the settings, how to use them, and how to create similar brush effects in Painter (if applicable).

Custom Brushes for Basic Painting, Skin and Hair

Custom Brushes for Fabric and Costume Detailing

Custom Brushes for Natural Backgrounds (Sky and Earth)

Custom Brushes for Elemental Effects (Water, Ice and a bit of Fire)

All created by Marta Dahlig.

I've also attached a PDF file sourced from ImagineFX magazine that details how to create your own custom brushes and brush libraries in Photoshop.

EDIT: Or not, since it seems that Lowyat won't let me attach files >_> So here's a link to a set of tutorials that show you how to make brushes using various methods: Tutorial Search on deviantArt

This post has been edited by DragonReine: Feb 10 2012, 07:12 PM
DragonReine
post Feb 10 2012, 07:46 PM

just another dog on the Internet
*******
Senior Member
2,610 posts

Joined: Aug 2011
@ Sai

You're welcome!

Frankly, ImagineFX.com provides LOTS of free workshops, most of which deal with digital painting. Of course, the quality/usefulness varies depending on your needs/skill level/how clear the instructor is, but most of them are very, very good. I suggest taking the time to read them, when you can smile.gif

10 Pages « < 2 3 4 5 6 > » Top
Topic ClosedOptions
 

Change to:
| Lo-Fi Version
0.0641sec    0.86    7 queries    GZIP Disabled
Time is now: 30th November 2025 - 12:17 AM