

 Sep 17 2010, 08:37 PM, updated 16y ago

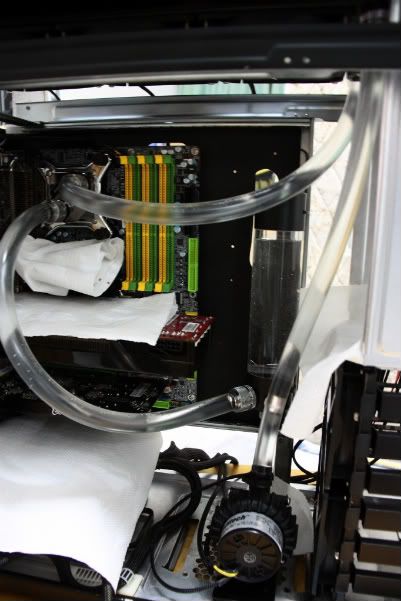
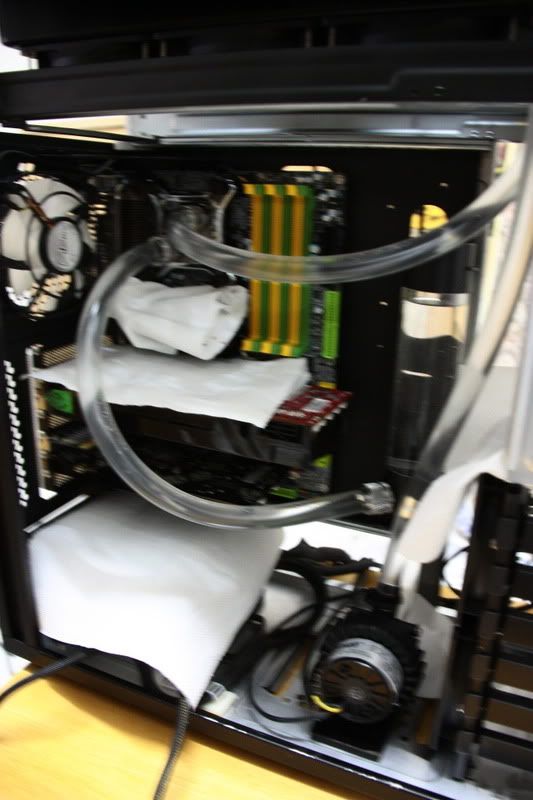
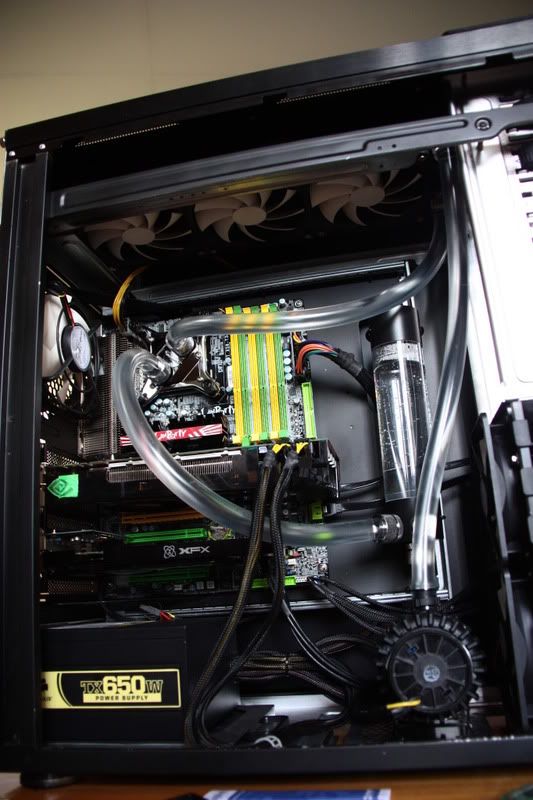
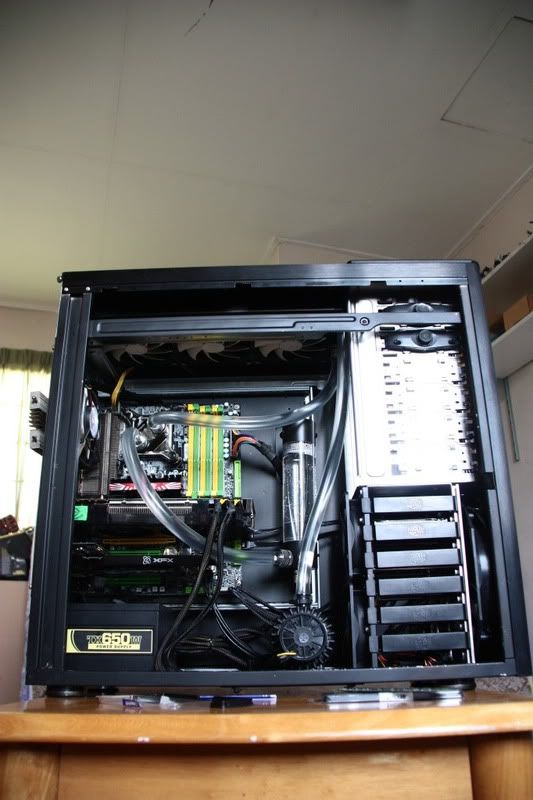
This is my new liquid cooling project.
After spending so much time on this forum, I decided to do my very own first watercooling worklog. Hope u all can enjoy it as much as I do.
A brief introduction. Well, previously I was using an air cooled system, after I saw some of the watercooled system in lyn, I want to try to build for my own. For the first time WC, I actually read alot of reviews and guidelines so that I get the idea of how to do it. The video on youtube also helped me alot to understand the steps of doing it .
The goal of these setup would be a good enough and low profile water cooling configuration and lower down the audible noise of my current setup. I love simple and low profile design. After I saw malik's atcs 840 project , it inspired me alot and gave me the motivation to do it. The way he build his system is just awesome. Every single parts inside my rig was my hard earned money by doing those part time job.
So , lets get started
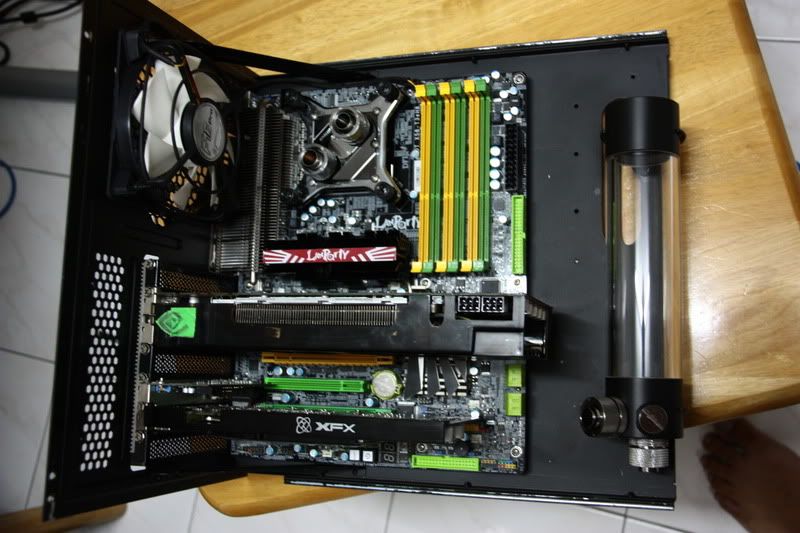
The parts that will go into my system will be
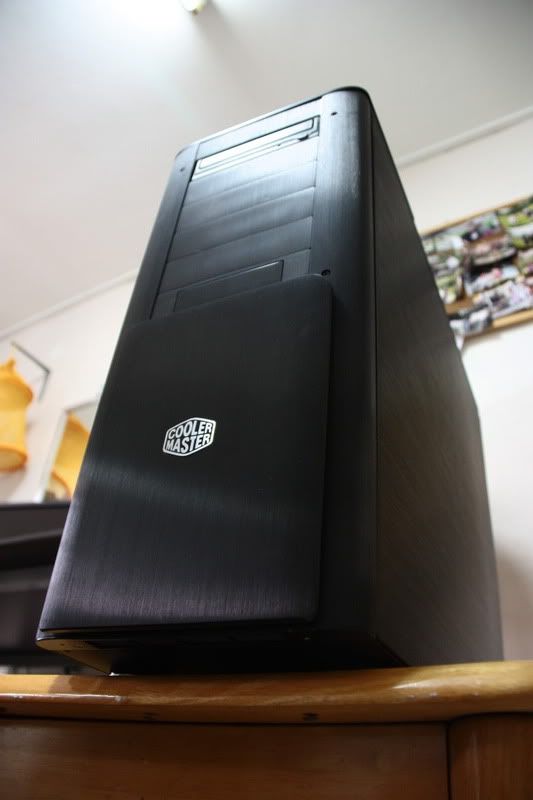
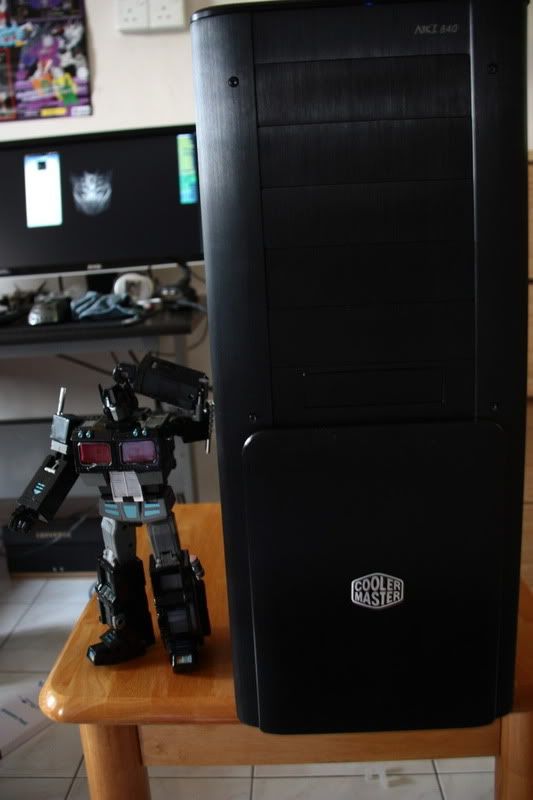
Case: Coolermaster ATCS 840 Black( Cheap and wc ready full tower aluminium casing )
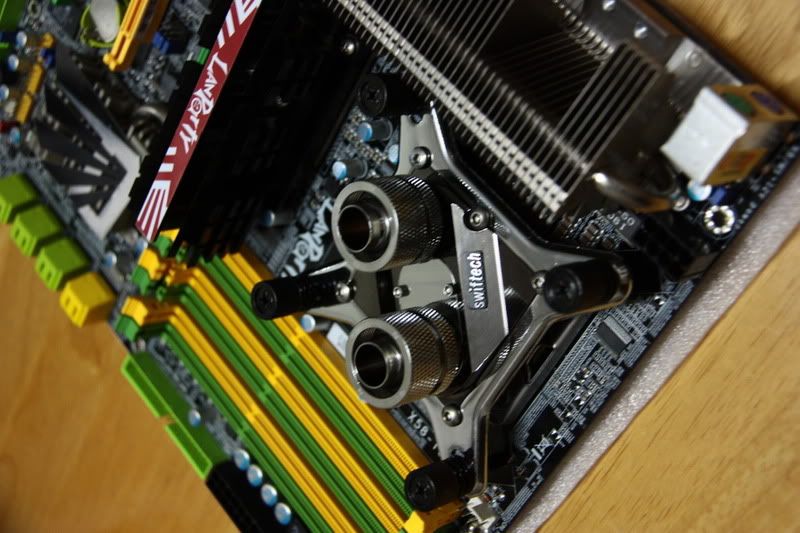
MB: DFI UT X58-T3eh8
CPU: Intel Core I7 920 D0
Memory: Kingston KVR 1333 2gb x3( temporary as I planned to upgrade to a better ram in future)
Video: Palit GTX 260+ core 216 + XFX 9800 gt as PPU
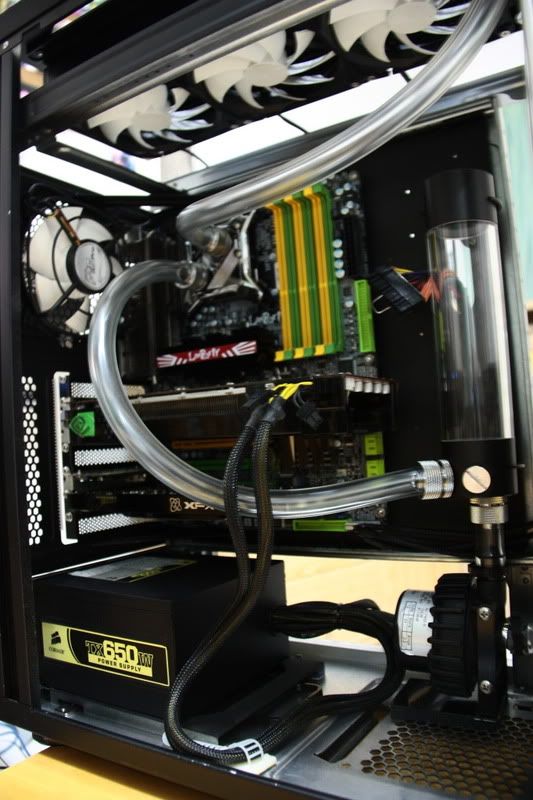
Psu: Corsair tx 650
HDD 1: Intel SSD x25-m 80gb
HDD 2: WD caviar black 1tb
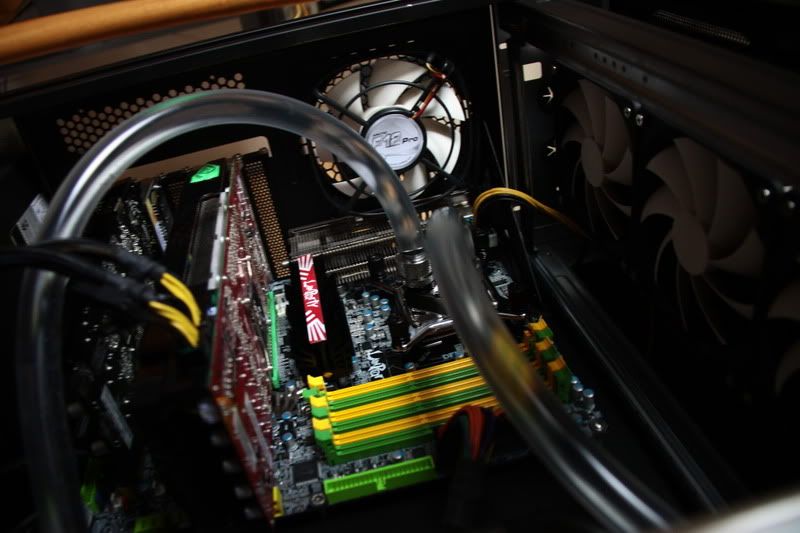
The Cooling Parts.
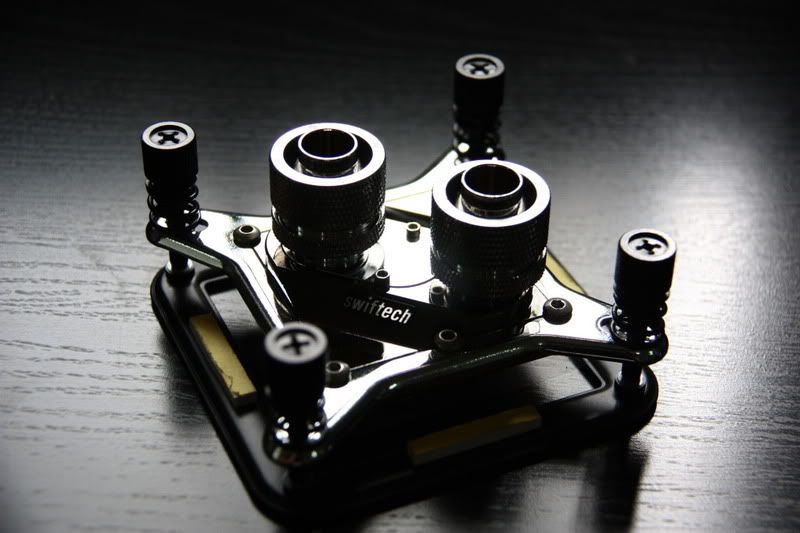
Cpu Waterblock: Swiftech Apogee XT
Gpu waterblock: (coming soon when i upgrade my GPU)
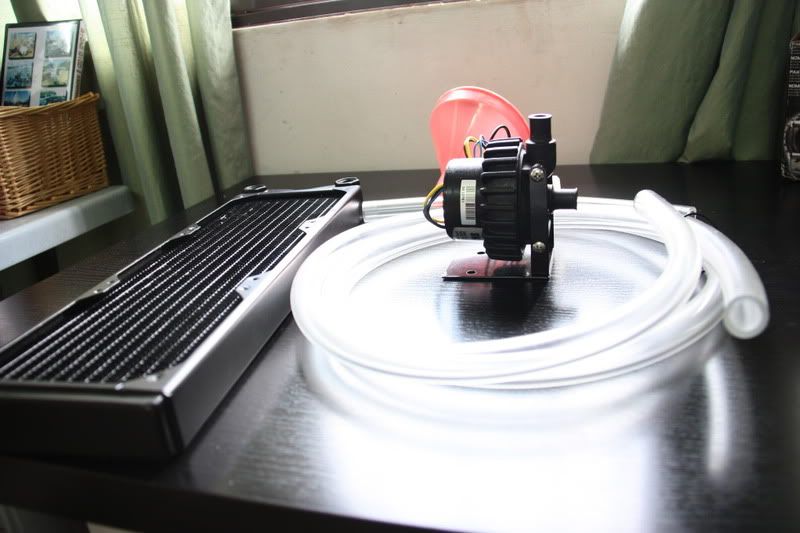
Pump: Swiftech MCP655-B
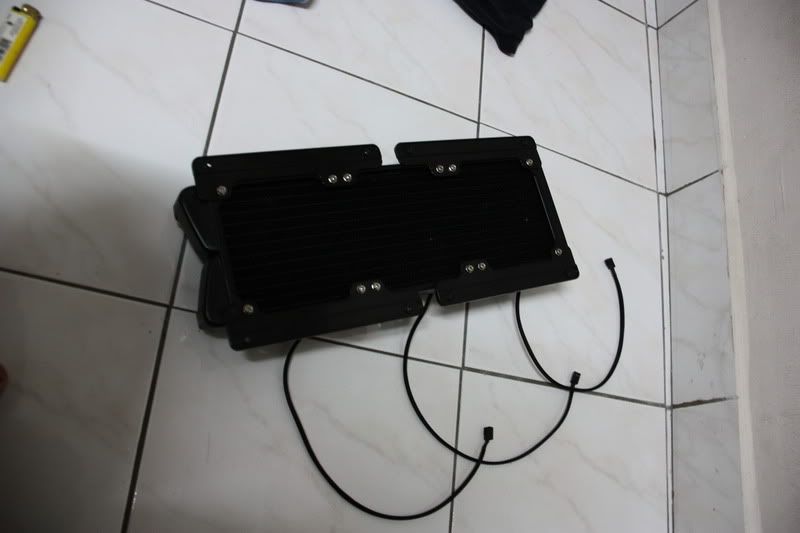
Radiator: Swiftech mcr320
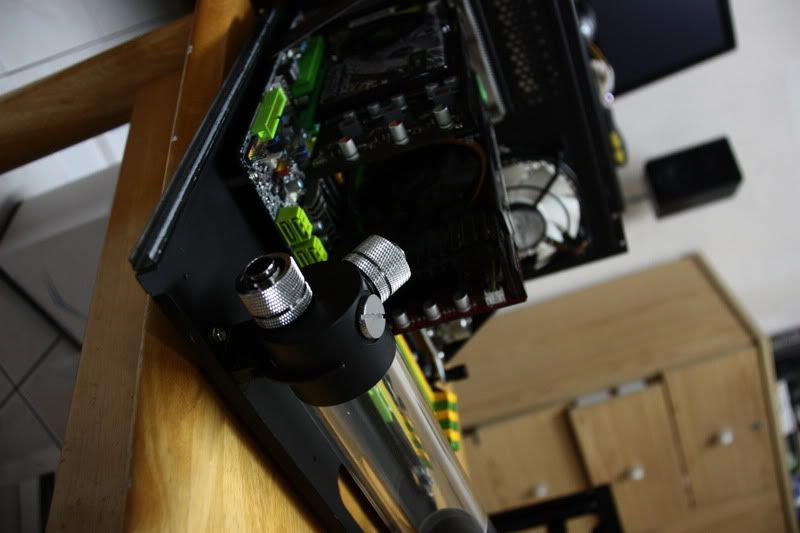
Reservoir: Iandh stealth res 225
Coolant: Distilled Water+ iandh silver killcoils
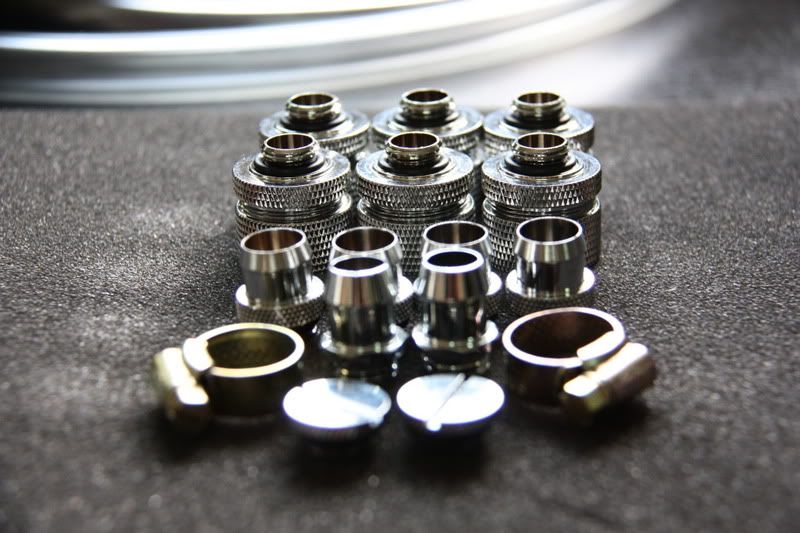
Fittings: 6x Bitspower Compression Fittings
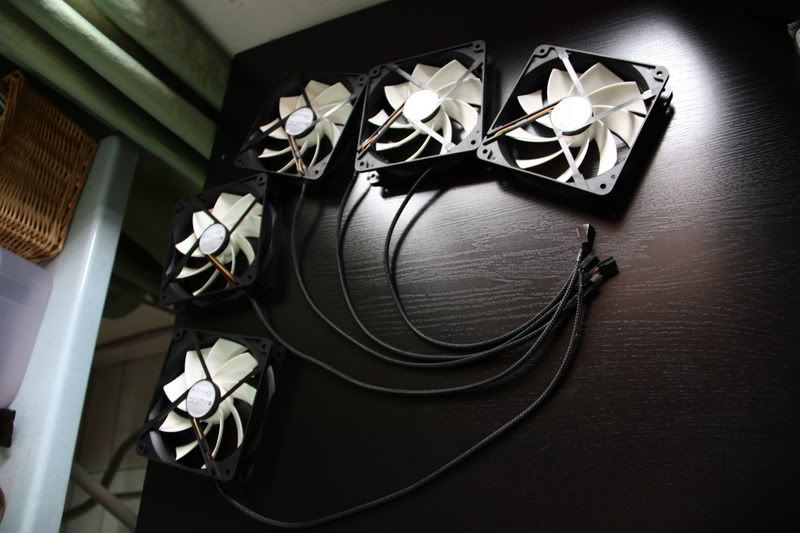
Fans: 6x Artic Cooling F12 fan
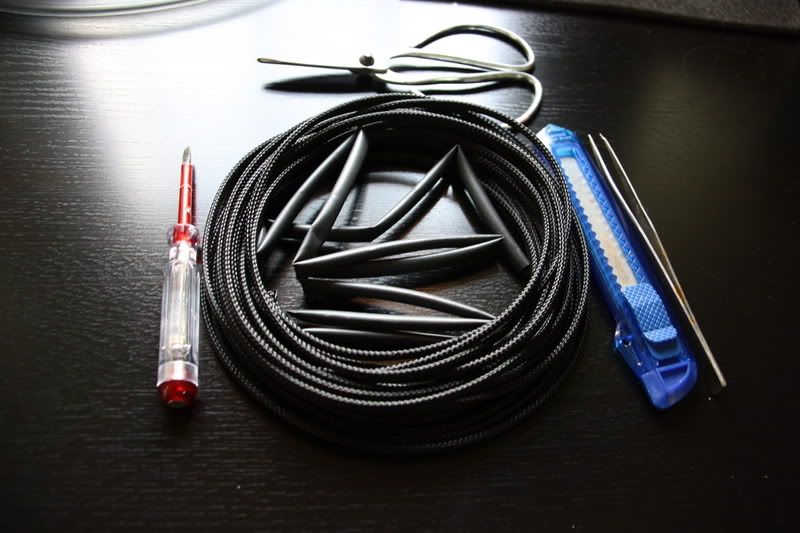
Tubing: Duralene 1/2 ID 3/4 OD
Ok now, some photos,
The Case.
Time to dismantle

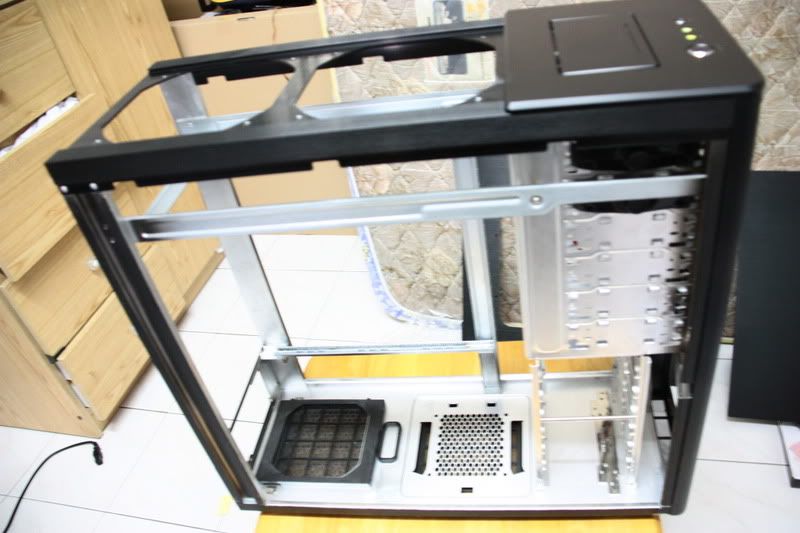
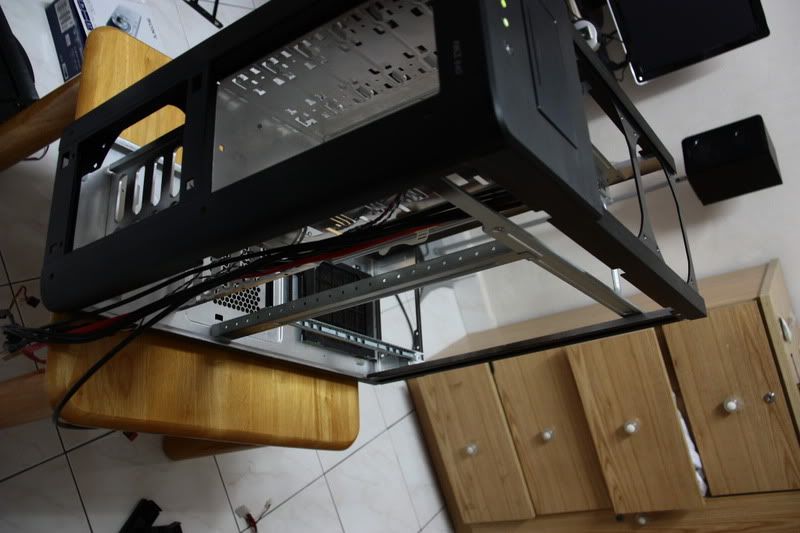
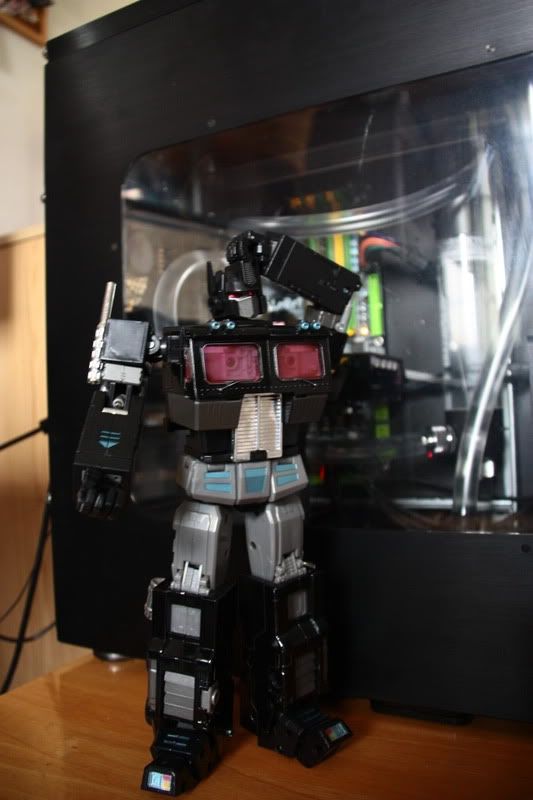
Watercooled Case?
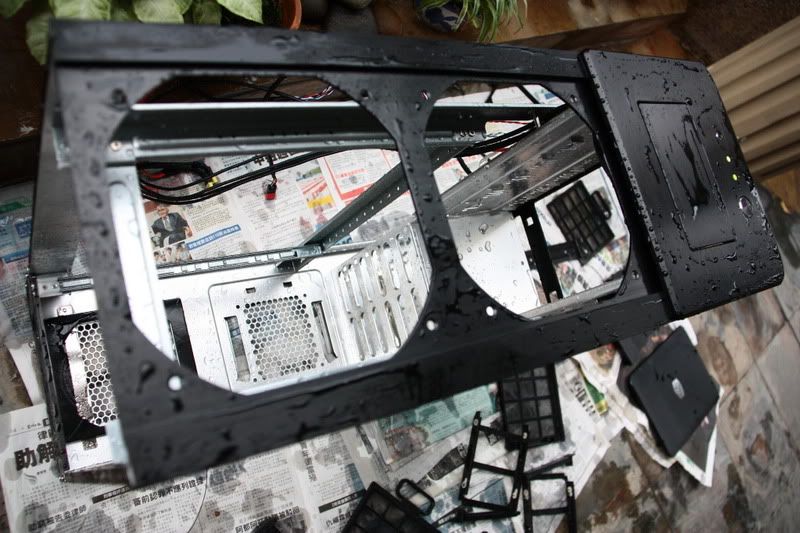
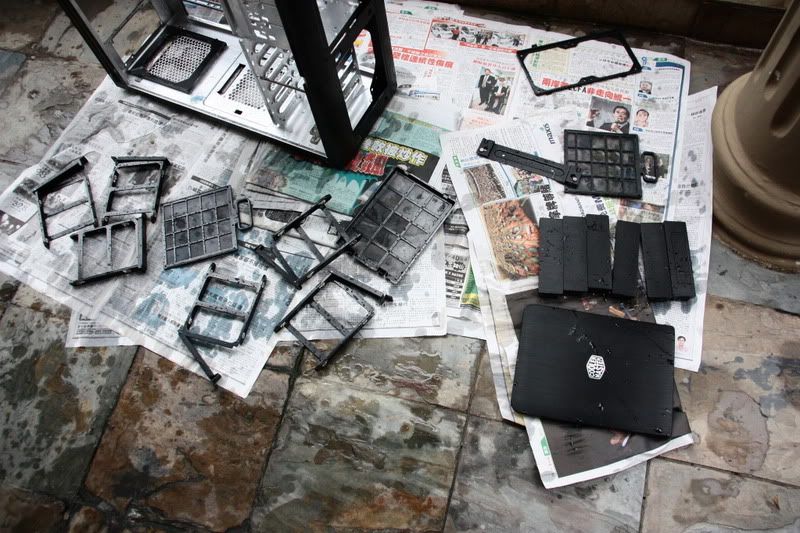
The case torn apart into pieces and gets washing treatment
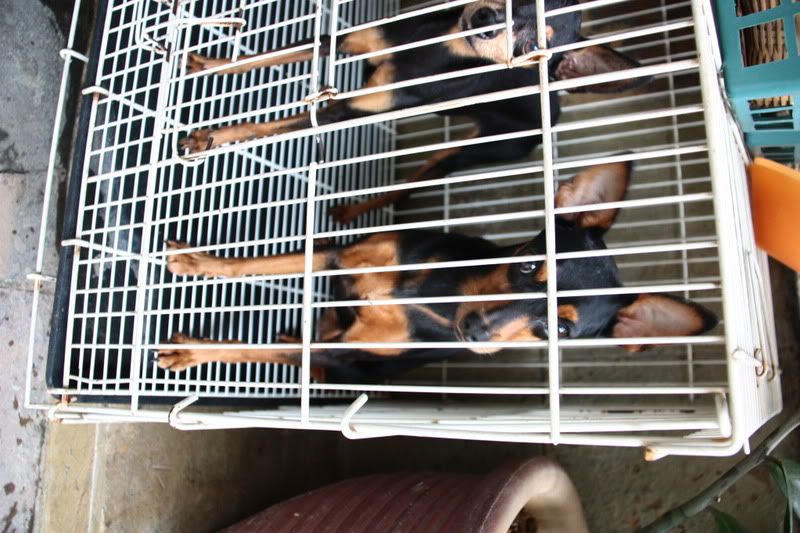
My dogs

meanwhile, I'll go back to my room and take some photos of the parts.
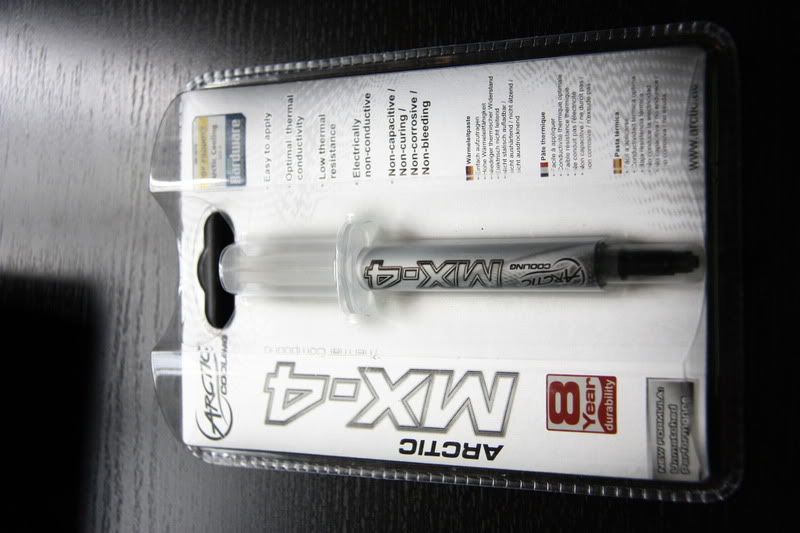
The thermal paste, Tuniq tx-3 vs Artic cooling Mx-4
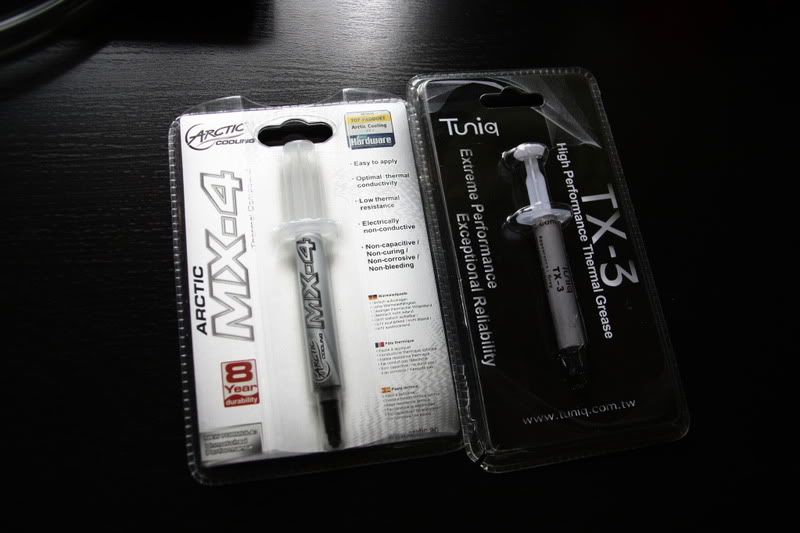
I will using the artic cooling mx-4
This post has been edited by GaryCCW: Sep 17 2010, 08:39 PM
 Quote
Quote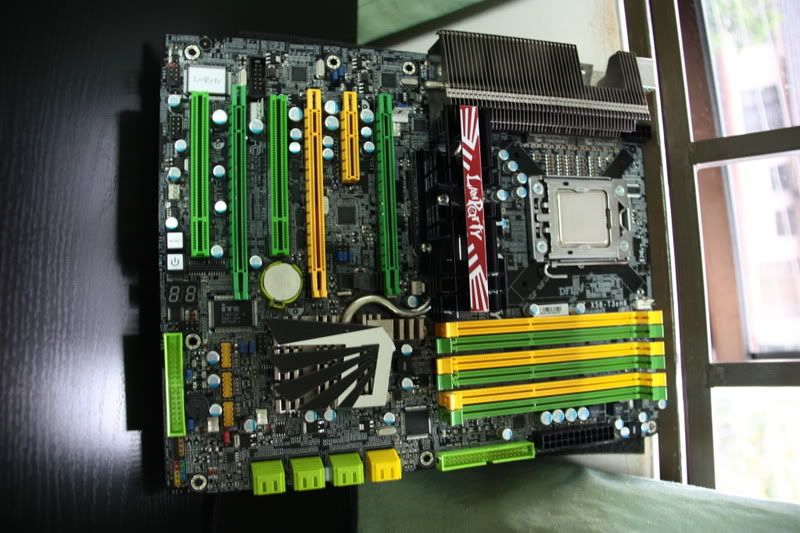


 0.0157sec
 0.60
0.60
 5 queries
 GZIP Disabled