Good afternoon.
I just wanna share my cable management tricks on my workstation.
Let me introduce Treetop L-2000 L shaped casing which makes monitor and casing as one. Monitor's height can be adjusted and also support pivot/rotation.
Computer specification:
» Click to show Spoiler - click again to hide... «
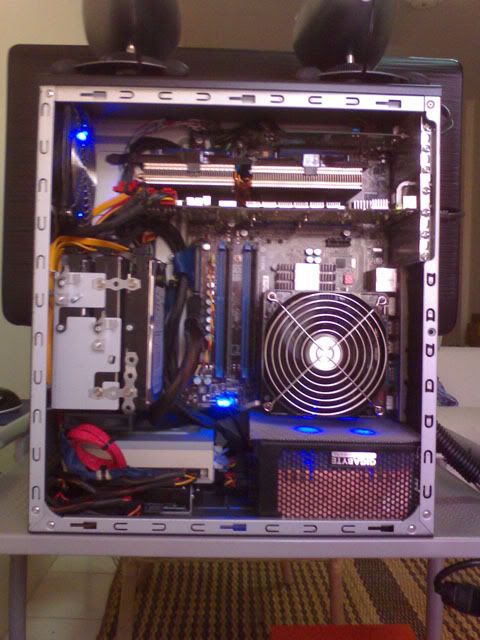
Intel Q6600 G0 @ 3GHz | MSI P43-C51 Bios 5.3 | KVR1333N9D3 2x2GB 6-6-6-18 | NVIDIA GTX285 with Gelid Icy Vision GPU cooler | ~3 TB HDD | Samsung B2430H LCD | TEAC DVD+RW | AverTV Super007 analogue
Klipsch GMX A2.1 | MS Wireless Desktop 3000 | OdinGT 800W | Wifi+Bluetooth built-in | TreeTop L-2000 chassis | IKEA computer table
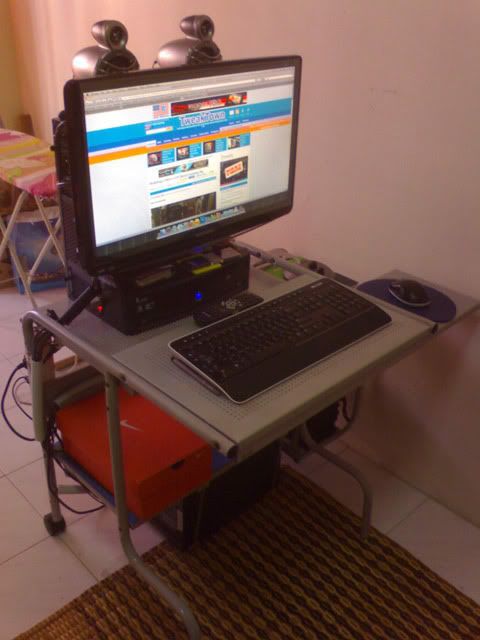
Power cable, monitor cable are hidden as the back and underneath the table using plastic cover/heat insulator which can be bought from hardware shop.
Speaker and monitor power cables are connected to a single 3-socket extension, making a single power connector to the main wall socket. Subwoofer is 'hanged' with custom iron bracket underneath the table.
Therefore it is so easy to move the whole computer. Just disconnect the main plug, and move the table to a new location.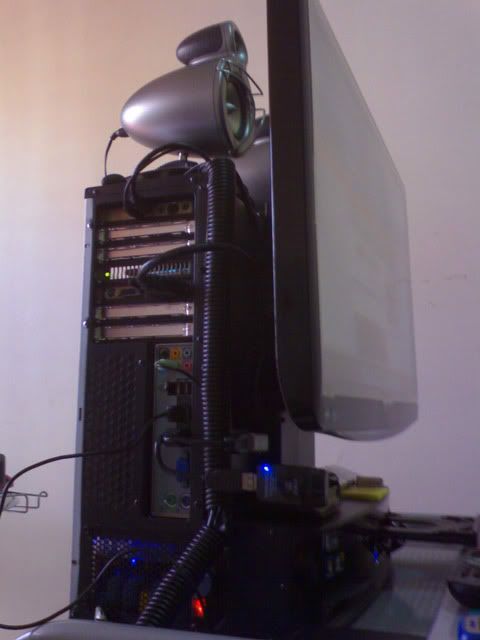
The number of cables greatly reduced with the use of wireless desktop and wireless Ethernet. Any exposed cables such as TV antenna, infrared receiver, speaker cable,DVI cable and monitor power cable are hidden and secured in the black plastic cover.
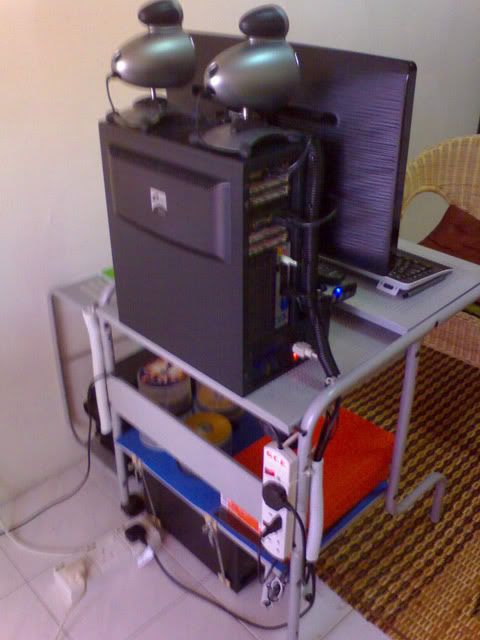
Card reader no longer inside since no exposed 3.5 inch compartment available in this chassis. It is replaced with a USB multicard reader.
Wireless USB and Bluetooth dongle are small enough to be hidden at the front cover just near the blue power button. Signal reception is still magnificent!
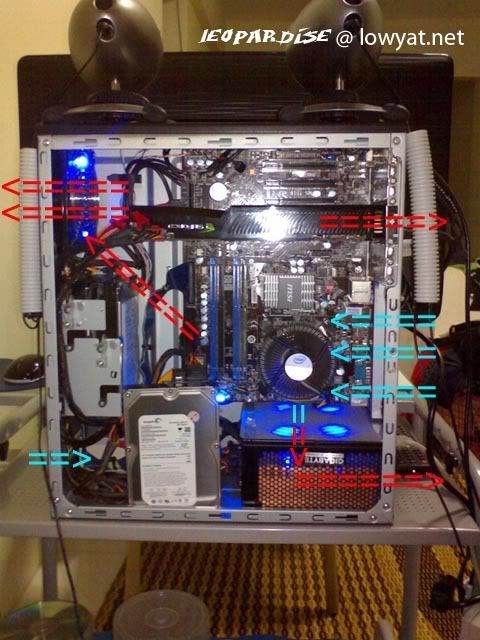
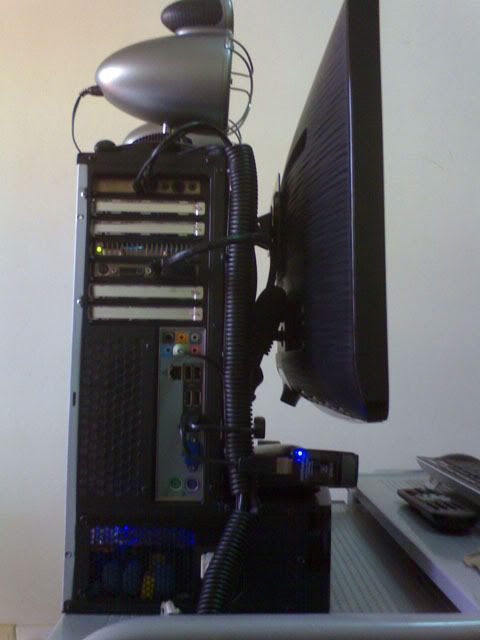
The interior was a bit difficult as the airflow was a bit different from normal casing. Arrows in the diagram are showing how cold air are taken, circulated and hot air being forced out.
USB and audio connectors are arranged behind the motherboard so it won't obstruct other components. Graphic card's PCIe power and SATA cable are routed behind and near the harddisk. The 3 harddisks are cooled with a 70mm fan underneath them. Another harddisk is located under the optical drive. So thing's looked so tidy and I think I've improved the interior airflow to the max.

So that's all for now. Enjoy modding!


 Jan 31 2010, 06:04 PM


 Quote
Quote
 0.0337sec
 0.49
0.49
 7 queries
 GZIP Disabled