

 Oct 10 2009, 12:07 PM, updated 16y ago
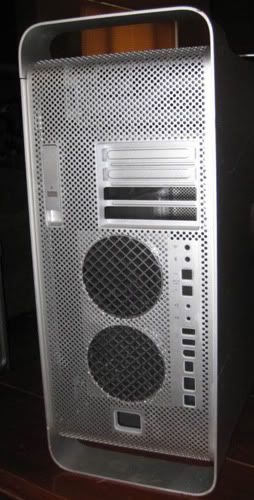
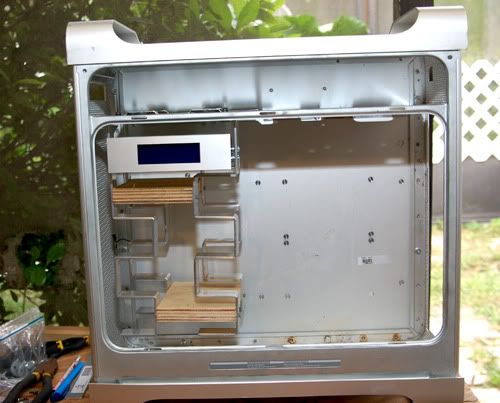
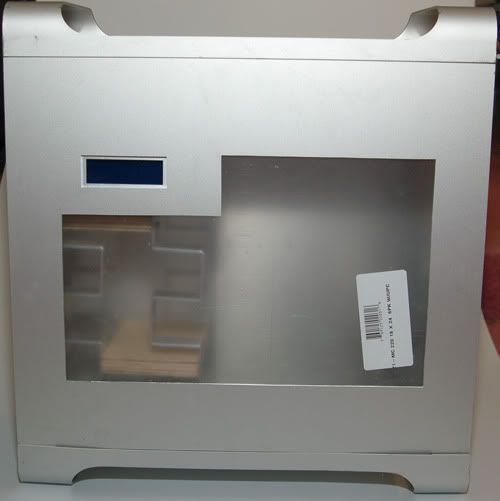
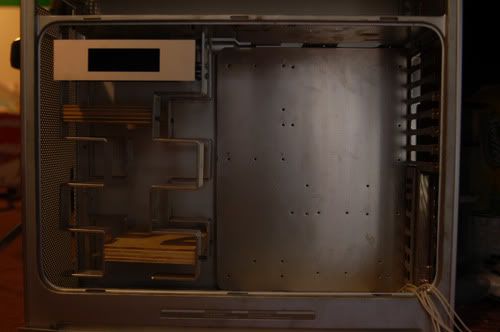
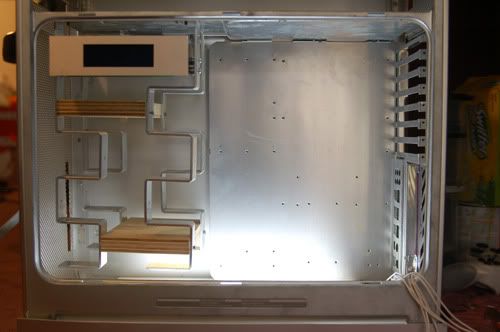
This is my first time modding a PC and will end up being my 3rd time ever building a PC. Built my first PC about 7 months ago, I started this case mod about 2 months ago and built a second PC the other day after taking a little break from my G5. Since I am 2 months into this let's first show what my original concept was. A lot has changed since starting this but still figure I'll show my original plan so you can see how it has evolved.
Original concept
Original plan was tto use all the components of my current PC and fit them into the G5.
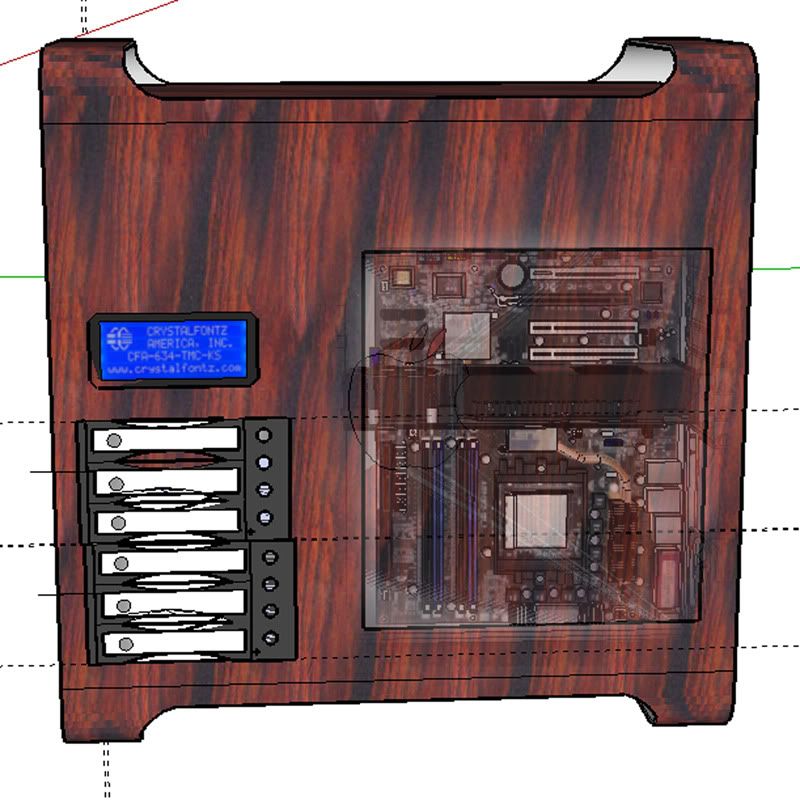
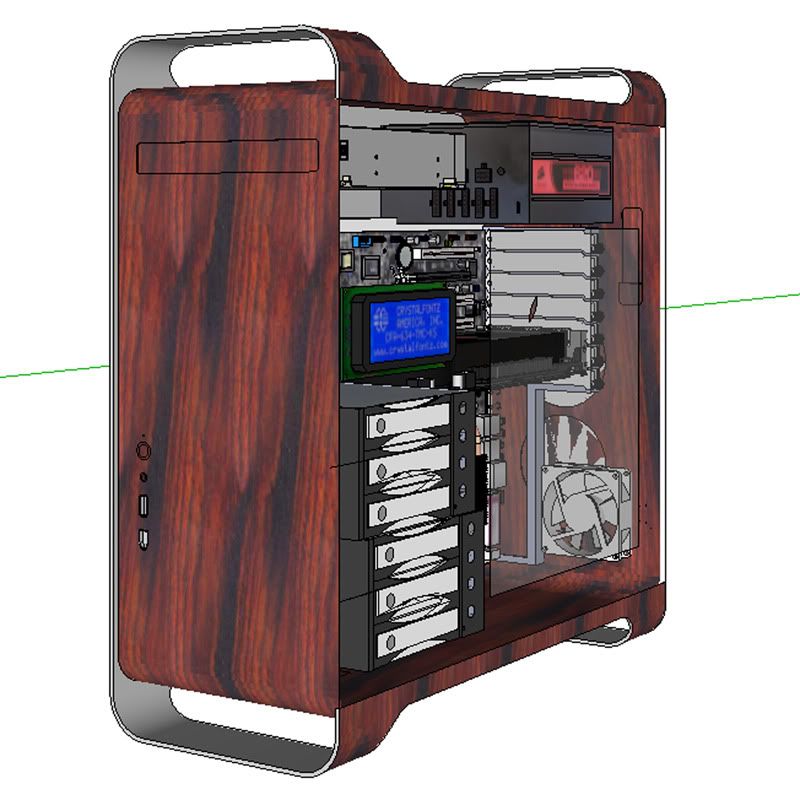
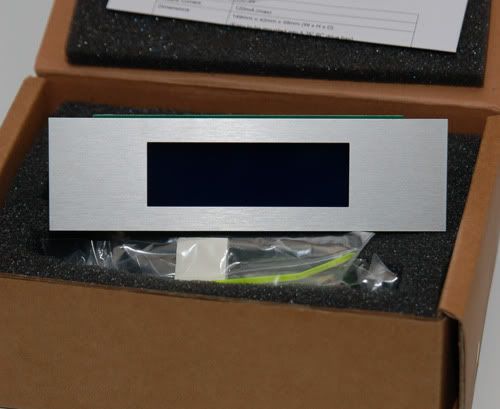
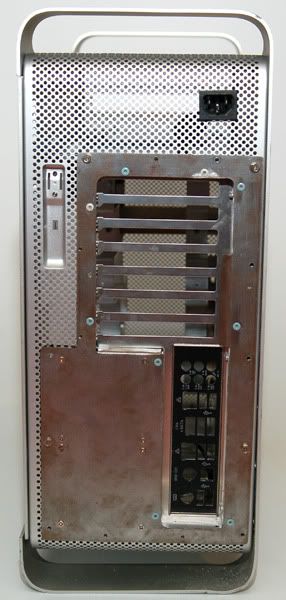
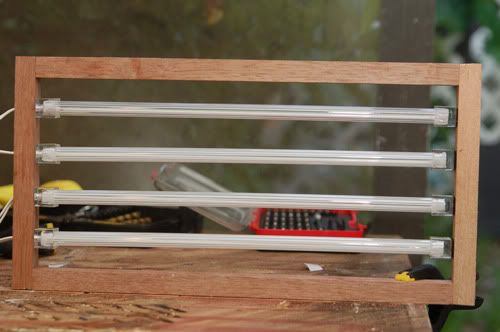
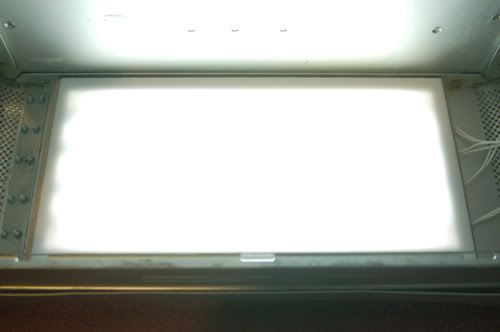
I was going to add an LCD screen to monitor system and add Hot swappable drive bays.
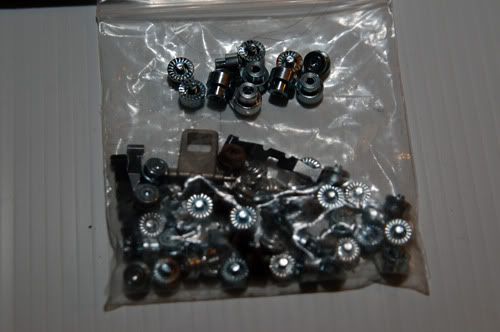
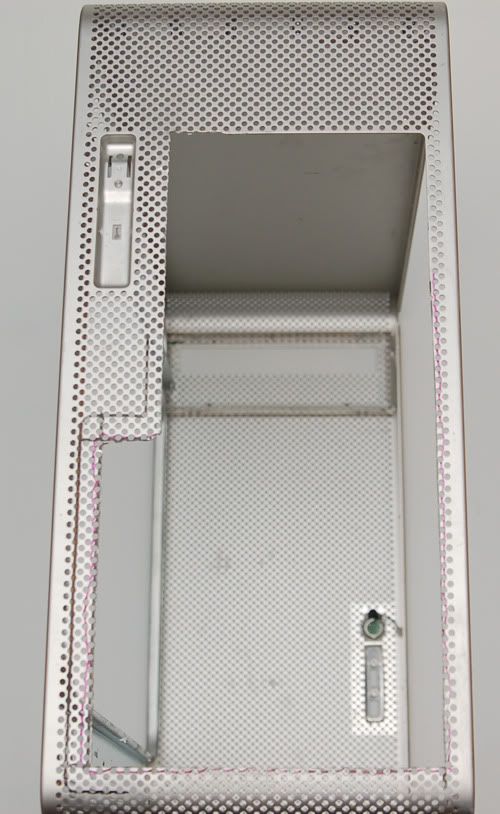
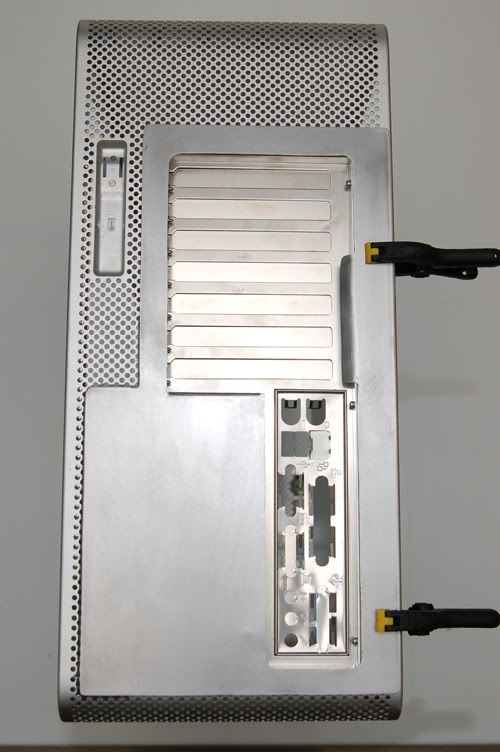
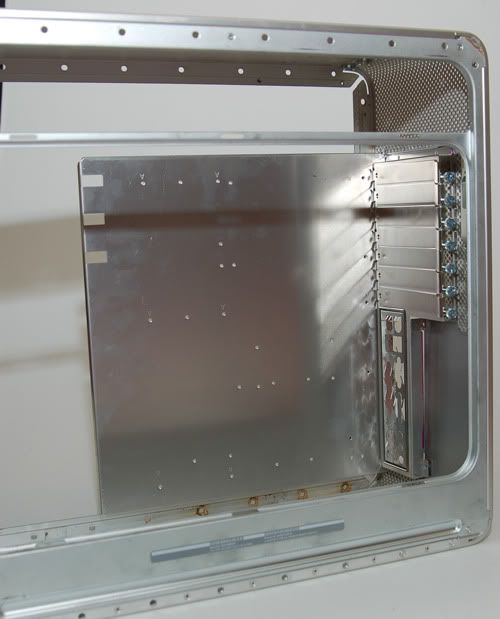
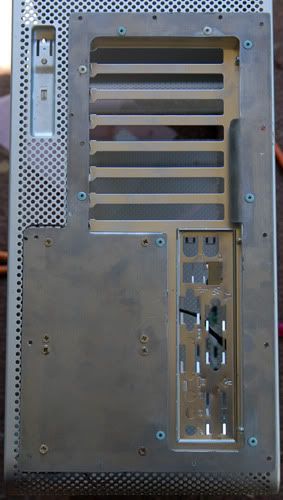
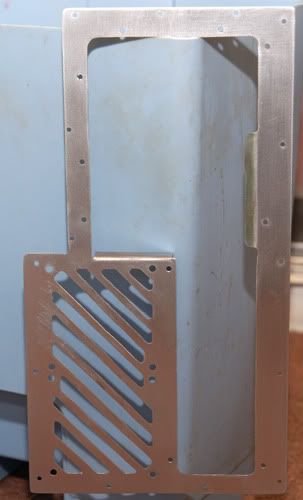
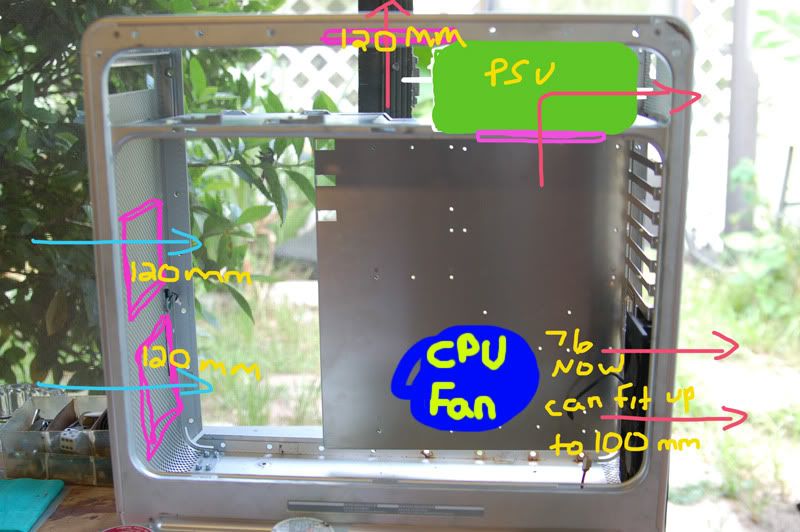
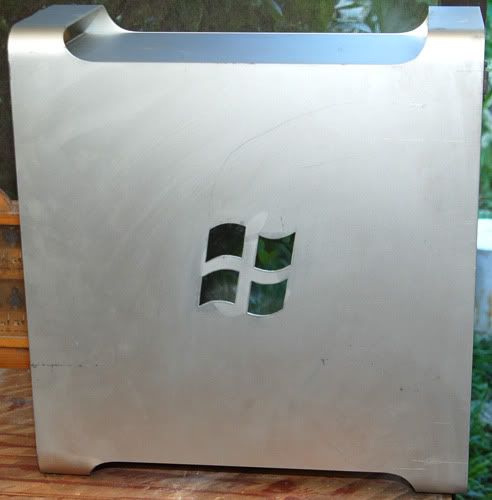
After recieving the case(ordered off E-Bay) I quickly realized things where not going to fit as planned and was not going to be as easy as I thought.
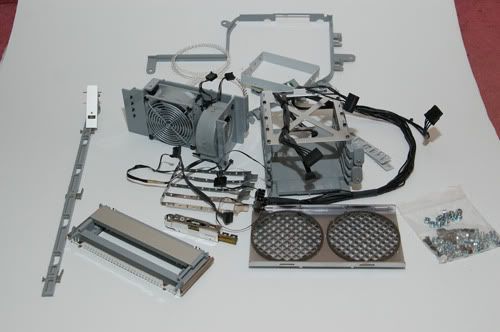
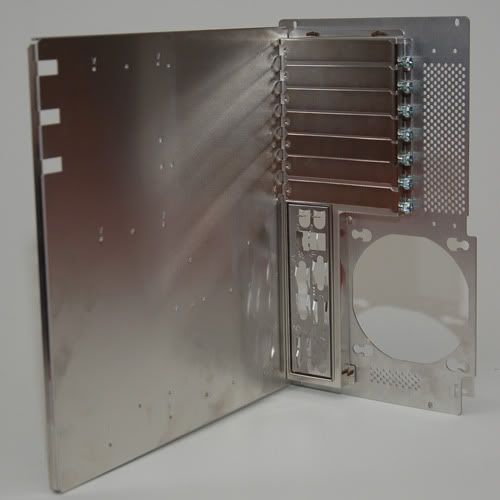
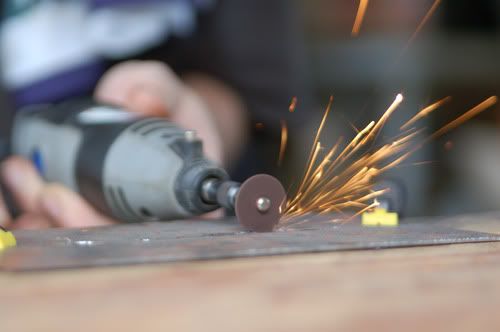
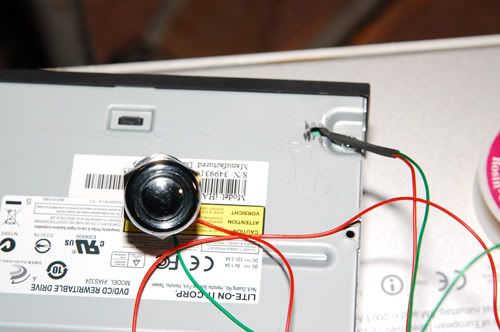
Had to ditch the hottswappable drives since there would only be about 1/8 inch clearance behind them( not enough for the connections) Also since the drive bays are a solid enclosure they would restrict too much air flow from the front to the rear of the case.
So the gears started turning in my mind as what I could do and I decideed to just jump in and see where it took me.
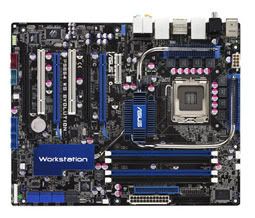
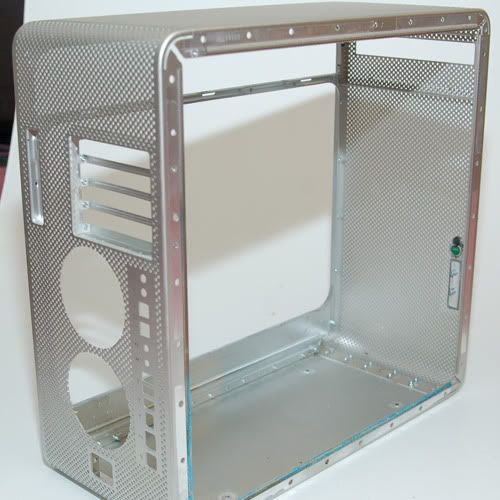
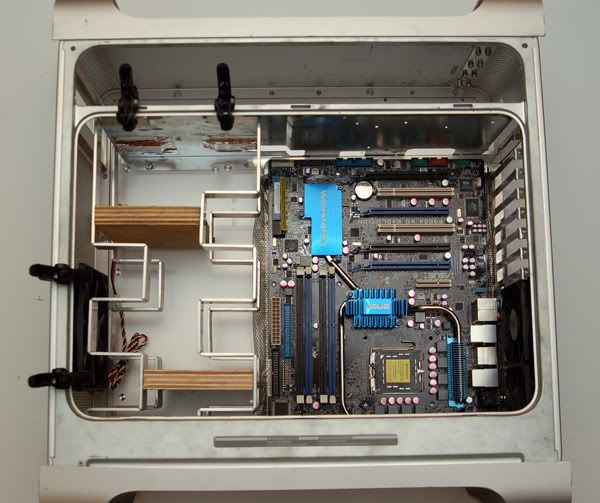
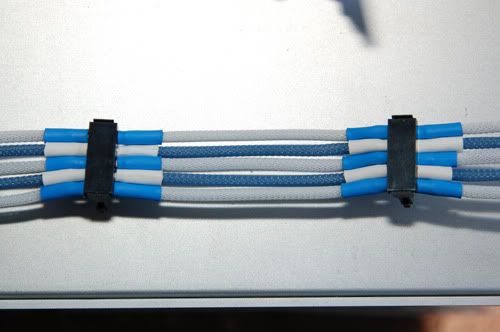
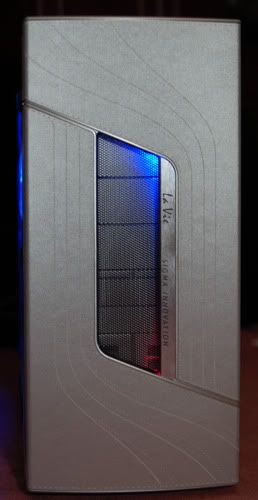
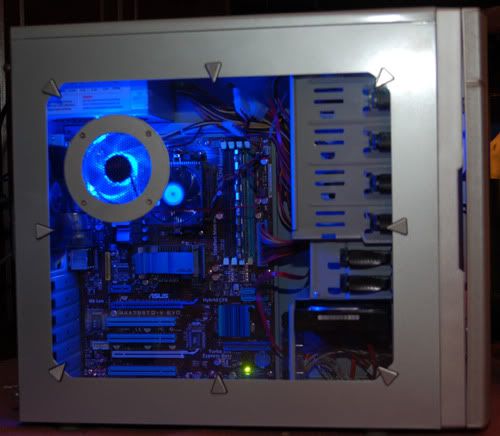
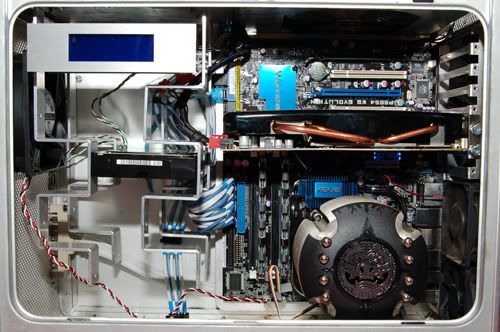
Decided to paint the case rather than putting the wood veneer on it. What color? Decided on Blue and white. Well my current PC components did not meet my Blue and White color scheme so Started looking for new hardware. The only motherboard I could find that both suited the color scheme and features I was looking for was an Asus P5E64 WS Evolution. Very hard board to find and not very cheap.
MB-Asus P5E64 WS Evolution
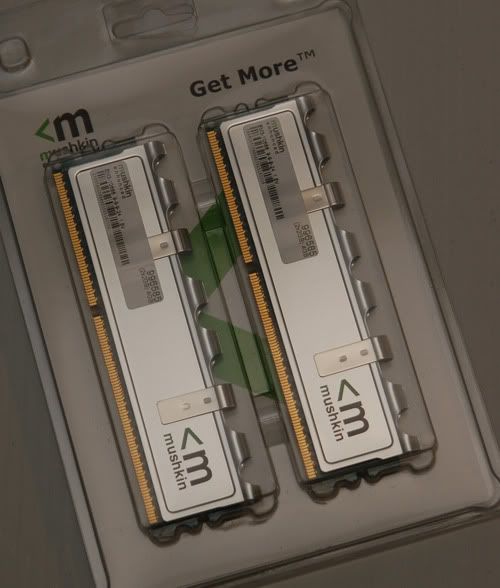
Ram-4GB Mushkin ddr3 1333
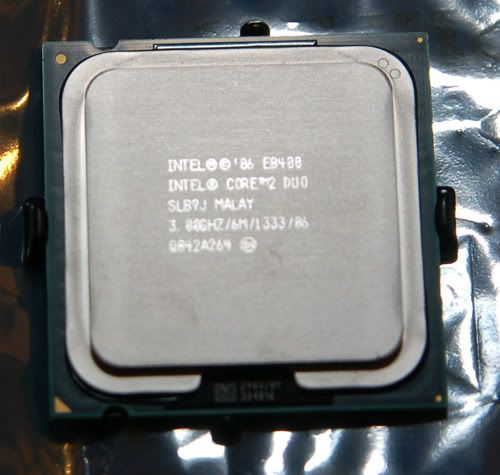
CPU-Core2Duo e8400 3.0 Ghz
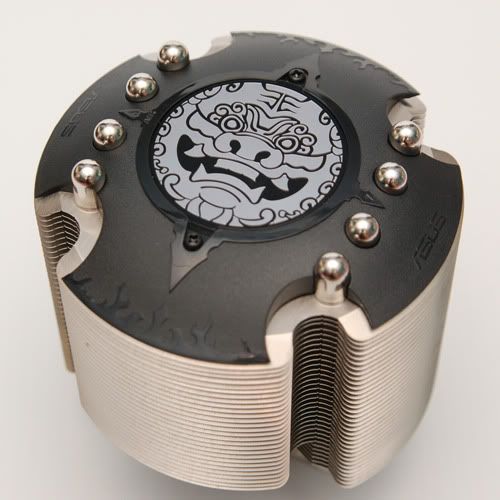
Cooler-Asus 92mm Lion
Will paint the black part on top either white or blue, still undecided.
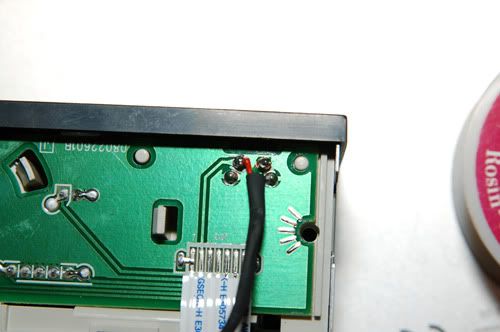
LCD
This post has been edited by sk8roy: Oct 25 2009, 08:21 AM
 Quote
Quote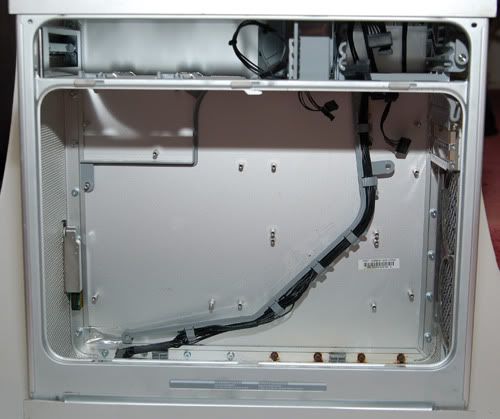


 0.2942sec
 0.72
0.72
 6 queries
 GZIP Disabled